Time to move on…
. For the past 3 years I have been posting on this site to keep it going. Well, the time has come to move on due to creative differences with the nRead More…

It's just a mountain biking website
. For the past 3 years I have been posting on this site to keep it going. Well, the time has come to move on due to creative differences with the nRead More…

I consider most of my mountain biking rides as something fun that I do and I don’t focus on mileage, time or effort. Well now that I am on a weight loRead More…

We have been experiencing a lot of rain here in Southern California so that has left me with riding indoors as my only choice. I purchased the Read More…

RL bought the Poseidon Bikes FX tracklocross from me and figured out how silly this bike is to ride when we are old Click here to read his FaceRead More…
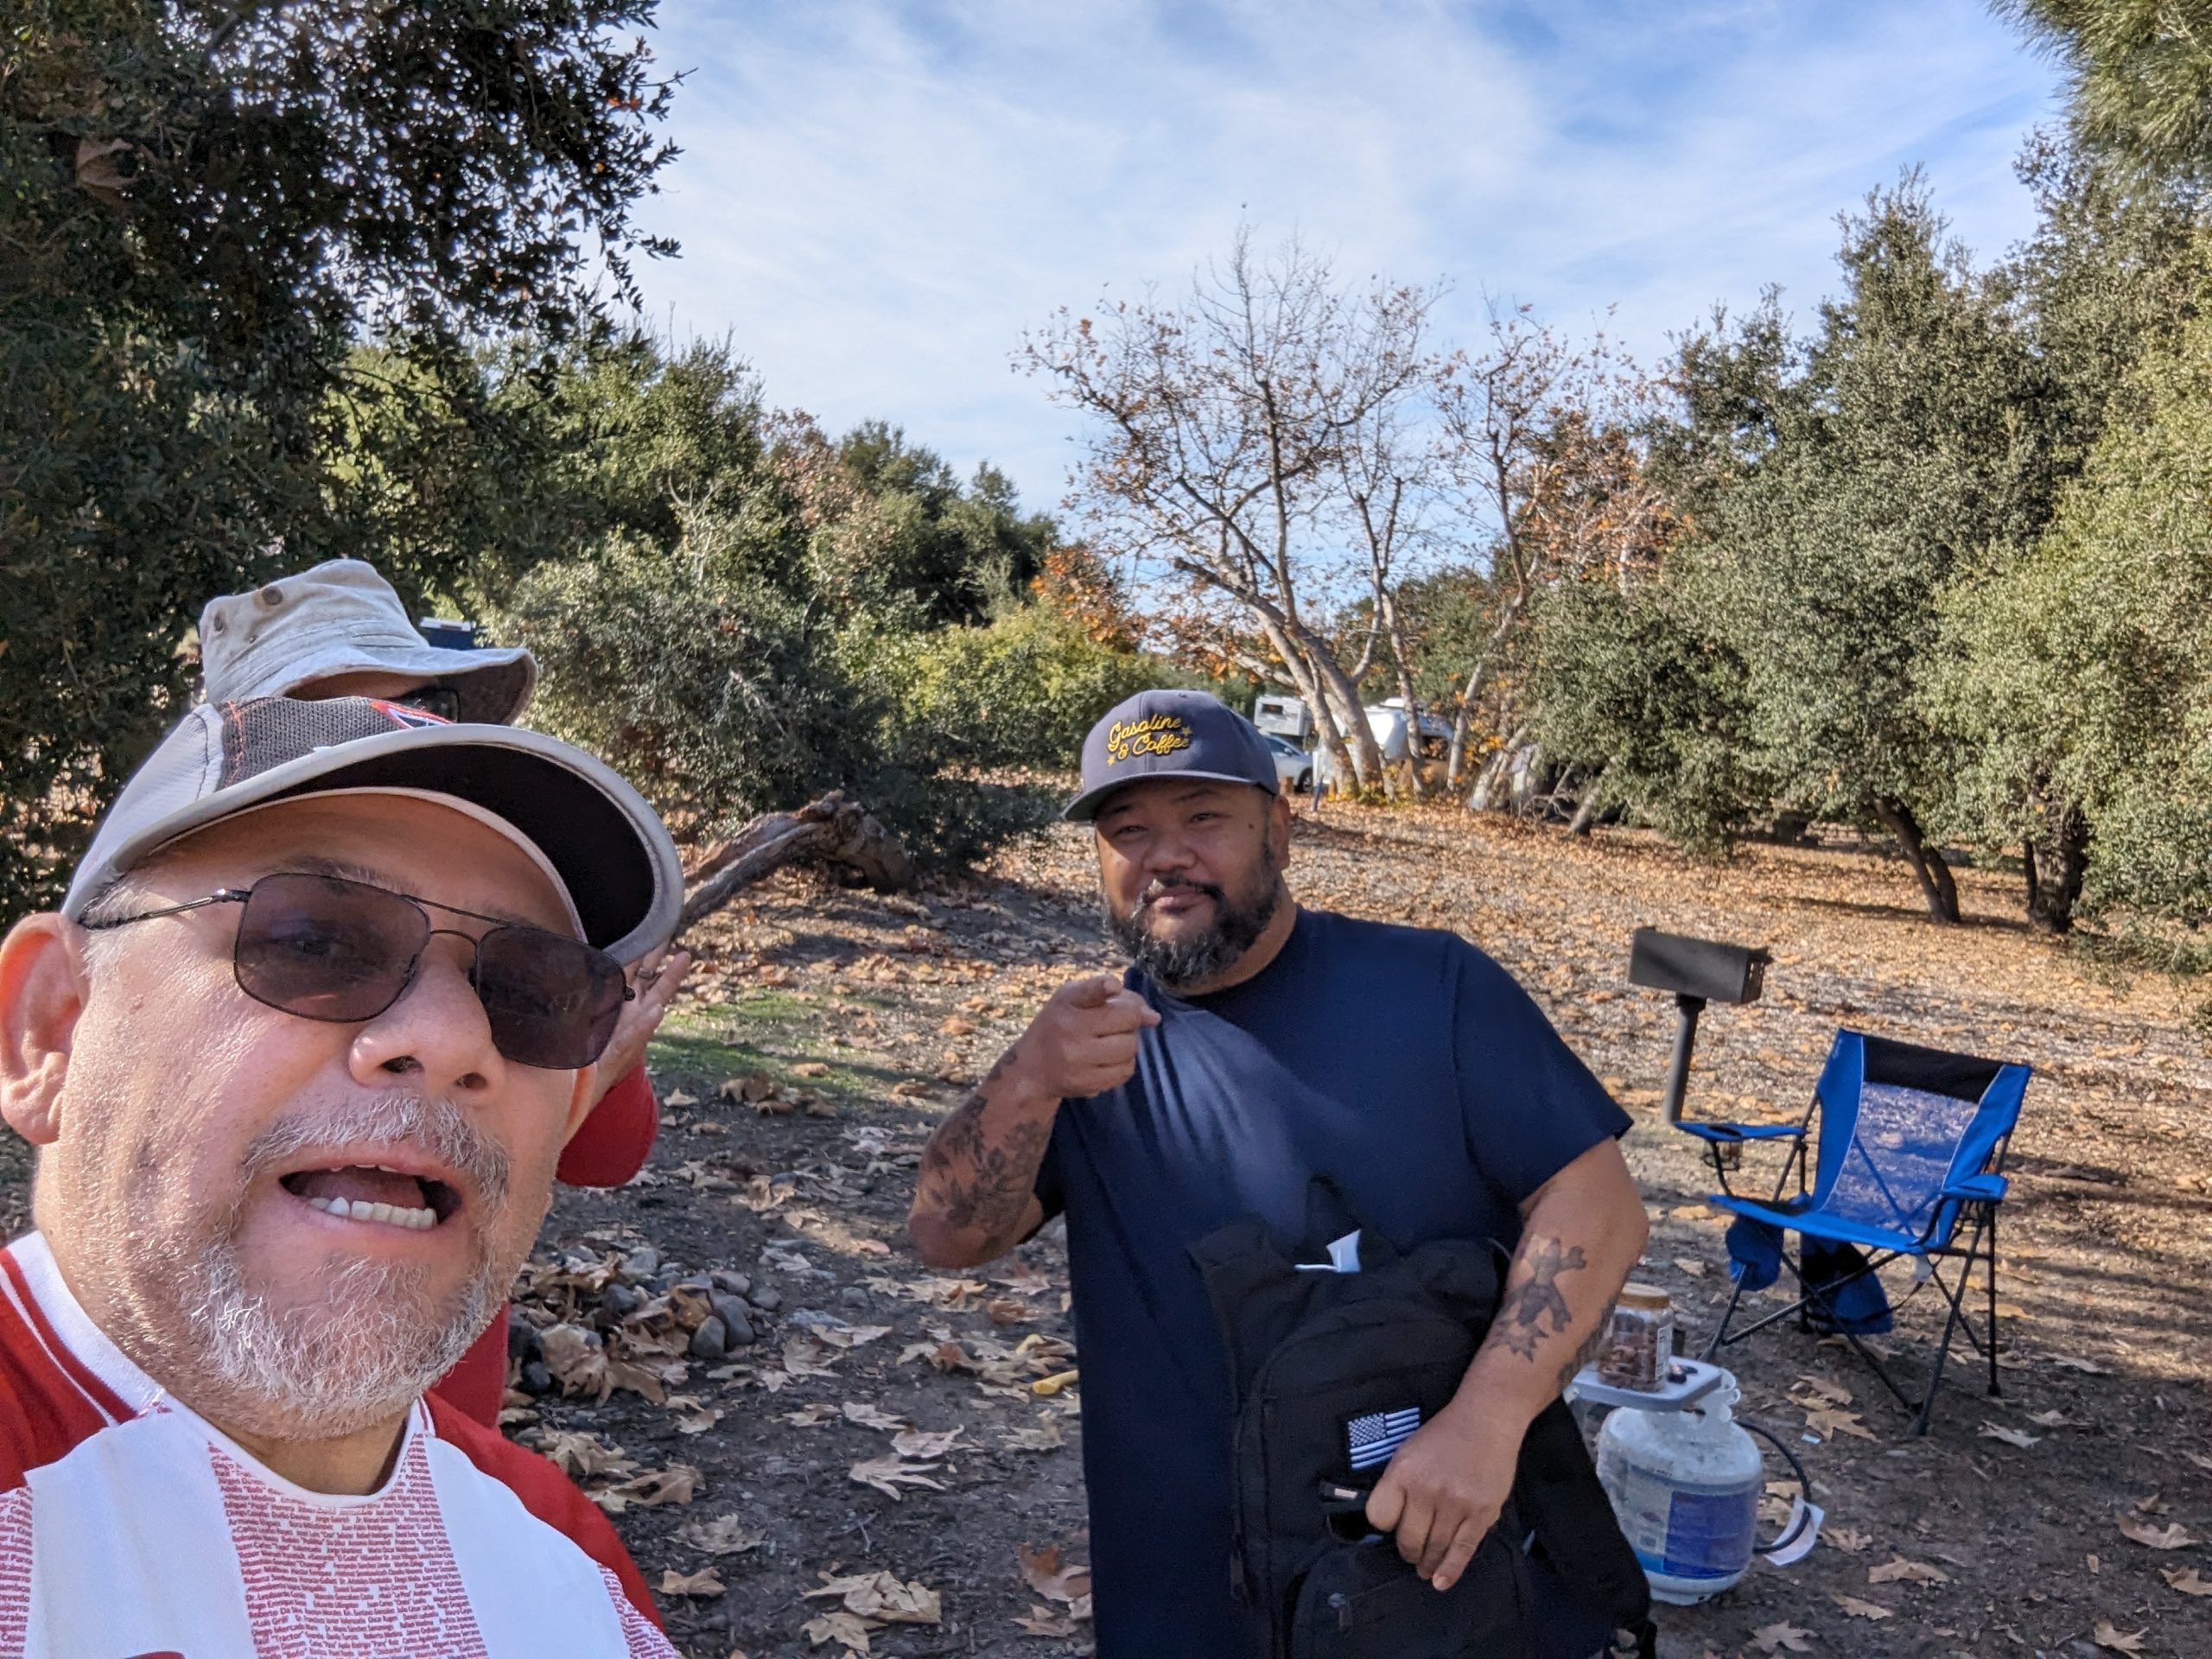
Hike report??? Are we sleeping with the “enemy”? As mountain bikers, we always have to lookout for hikers and there are times that they disrupt ouRead More…
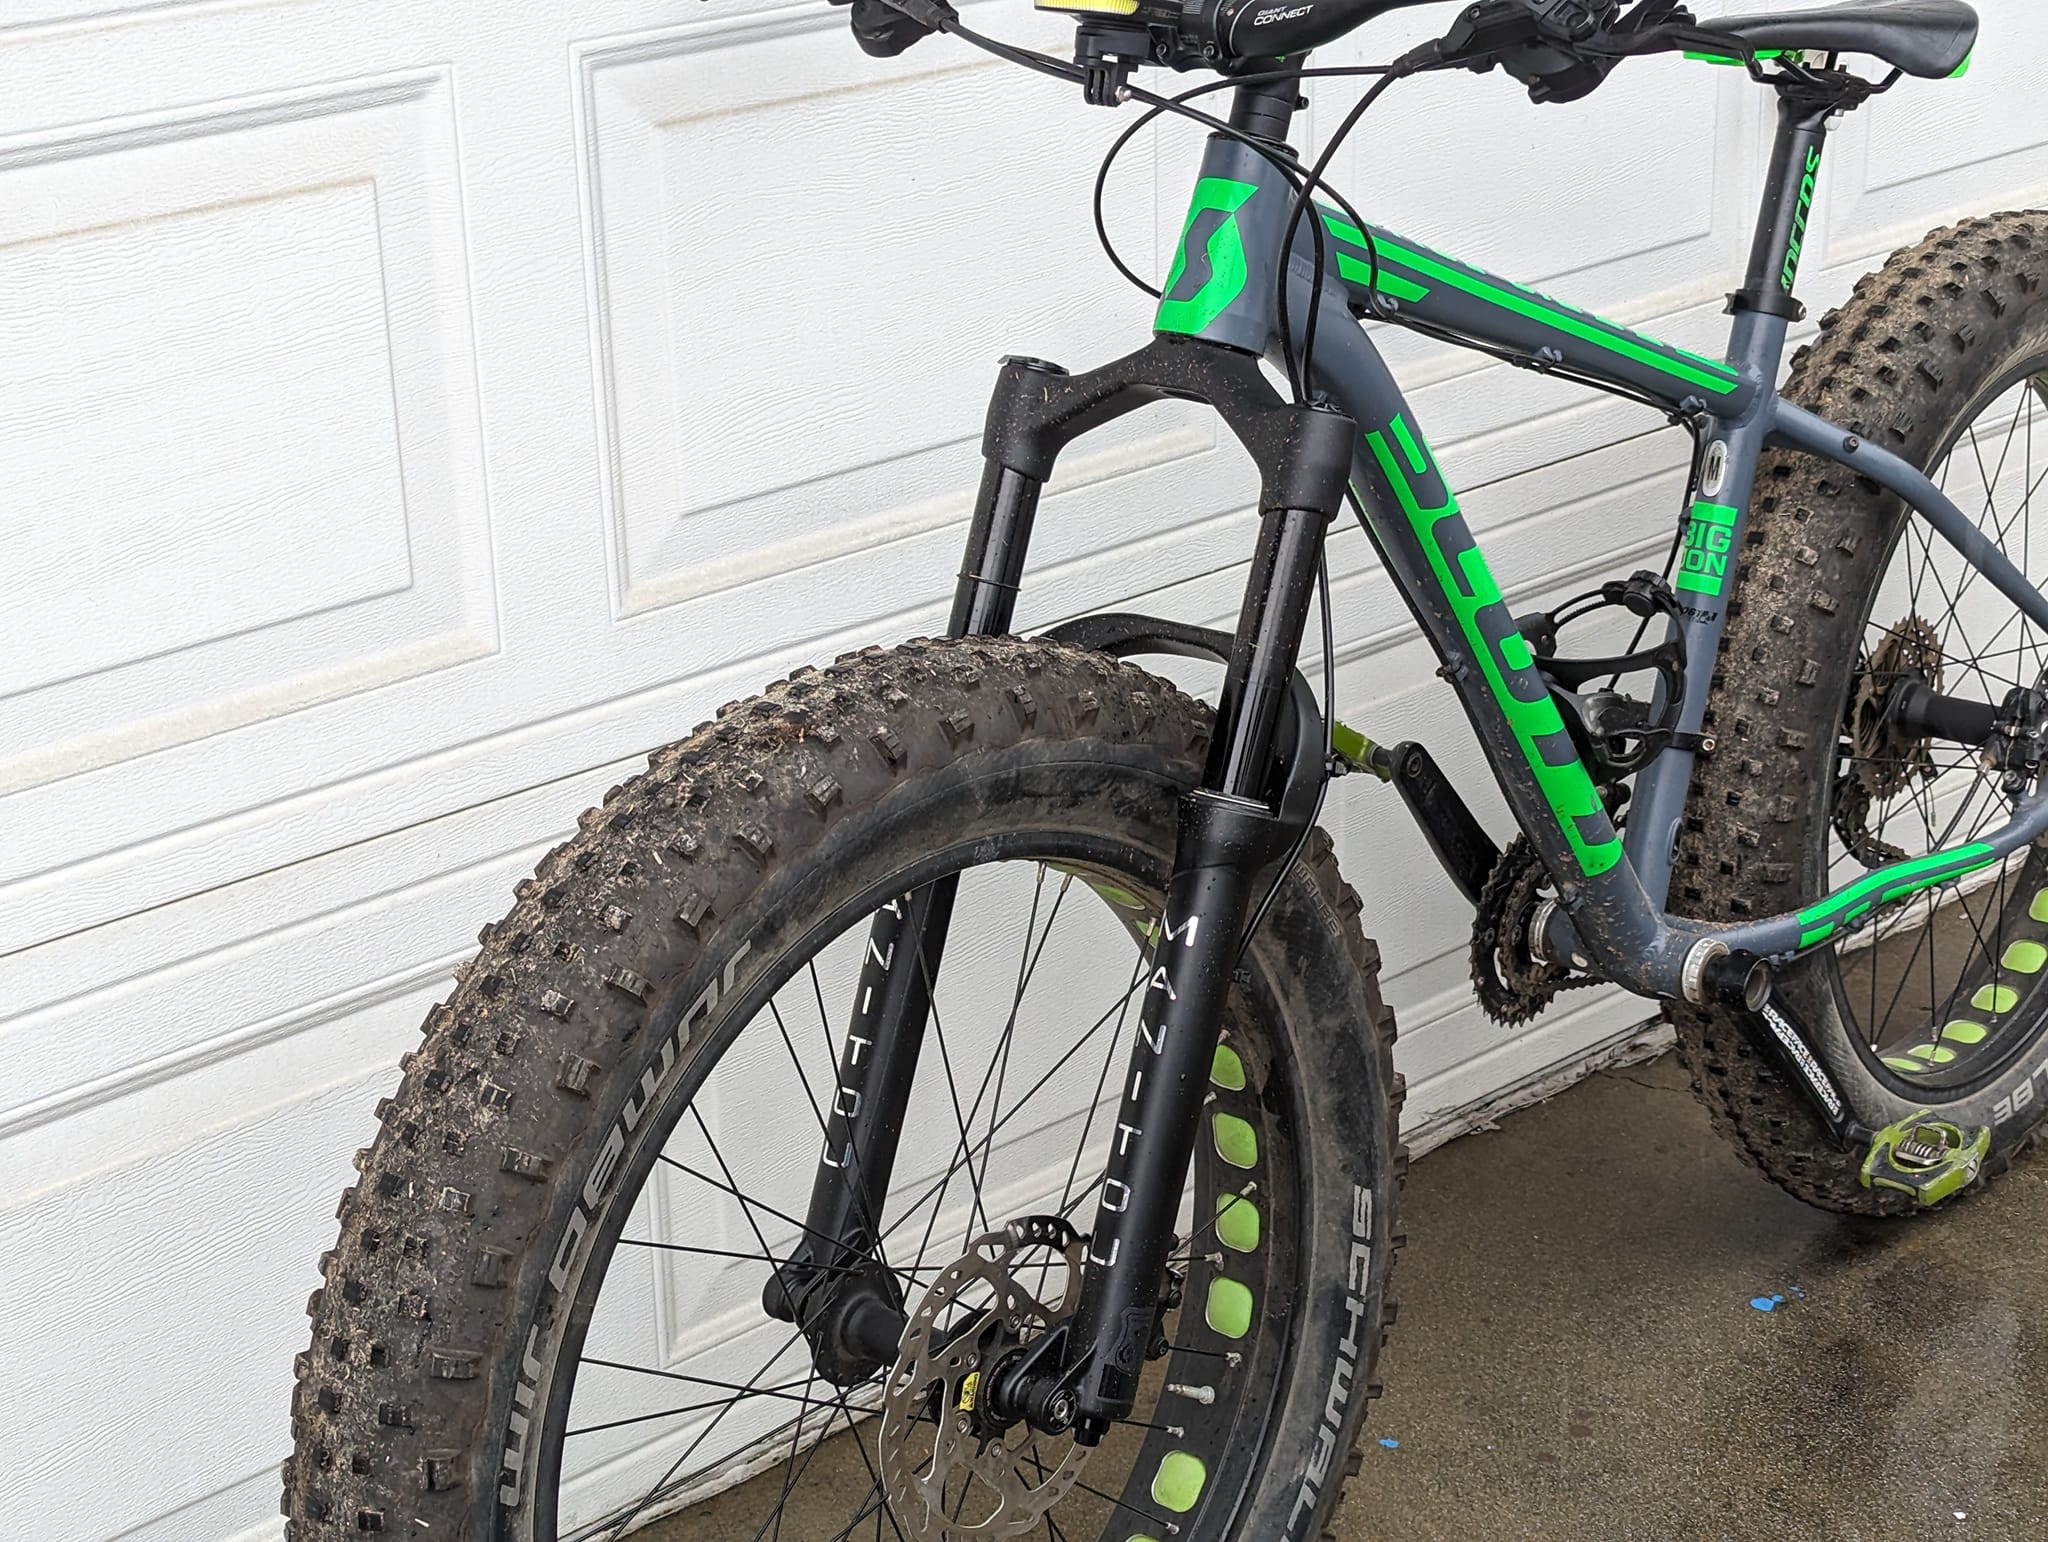
I had been toying with the idea of buying a hardtail bike to ride the Fullerton Loop and listed my Scott Big Jon Fat tire bike up for sale. After a feRead More…

I was one of those who believed that e-bikes are “cheater bikes” and yes, they are if you are racing against non-e-bikes or if you are using them Read More…

Back in October I listed the Scott Big Jon fat tire bike for sale on Facebook marketplace. I then got a message from them that my ad was being revRead More…

After ridden cow trail 19 years ago, we went back to ride this singletrack that is nested in the Puente Hills reserve. One of the reasons that Read More…

Nicknames come and go but Moe Ramirez’s “The Moe” nickname has stuck for a while. Moe embraces this nickname sort of as an alter ego but how did “Read More…