. For the past 3 years I have been posting on this site to keep it going. Well, the time has come to move on due to creative differences with the new owner. I have also moved on to more than just riding mountain bikes; I am now in the beach cruiser and Big BMX…
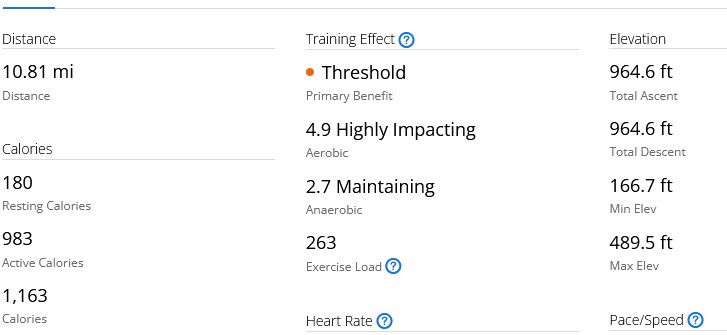
I consider most of my mountain biking rides as something fun that I do and I don’t focus on mileage, time or effort. Well now that I am on a weight loss journey, my mindset has shifted a bit and I do focus more on the workout. We are semi-famous for doing “relaxed vibes” type…
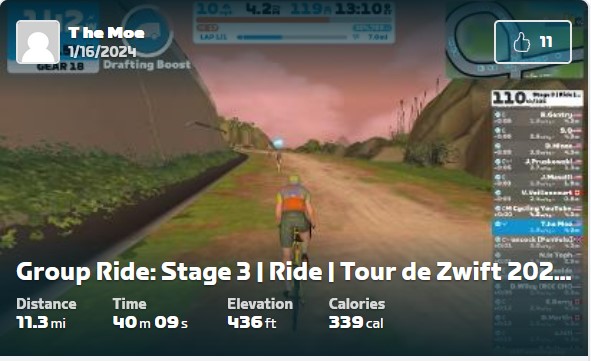
We have been experiencing a lot of rain here in Southern California so that has left me with riding indoors as my only choice. I purchased the Zwift Hub over 6 months ago and I really have enjoyed using it for training purposes and to ride on rainy days. If you are not familiar with…
RL bought the Poseidon Bikes FX tracklocross from me and figured out how silly this bike is to ride when we are old Click here to read his Facebook post on our page.
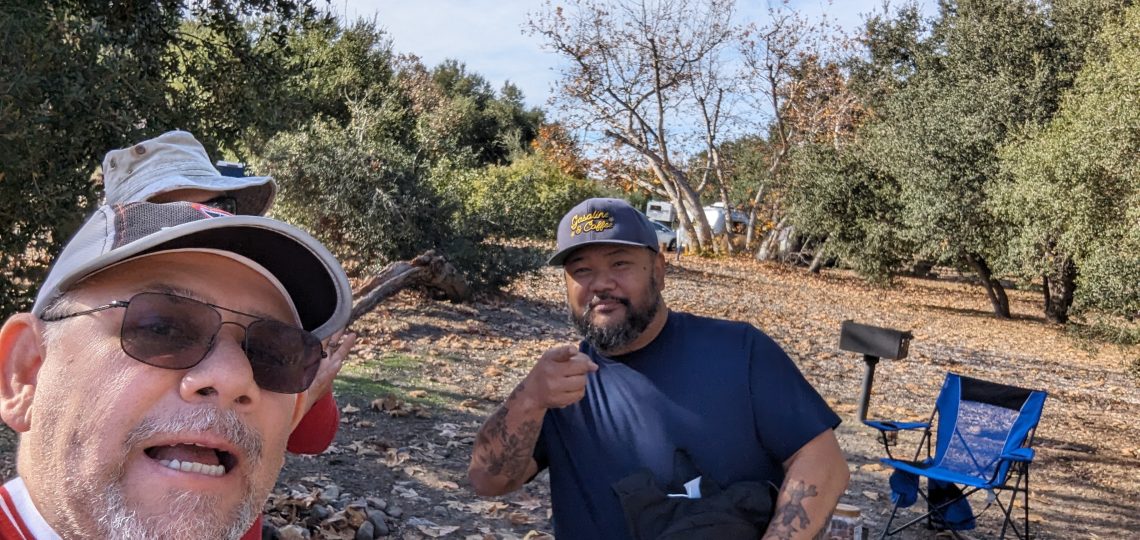
Hike report??? Are we sleeping with the “enemy”? As mountain bikers, we always have to lookout for hikers and there are times that they disrupt our “flow”. This past weekend we decided to mix things a bit and we gave hiking a go. RL was already camping at O’neill park so I joined him and…
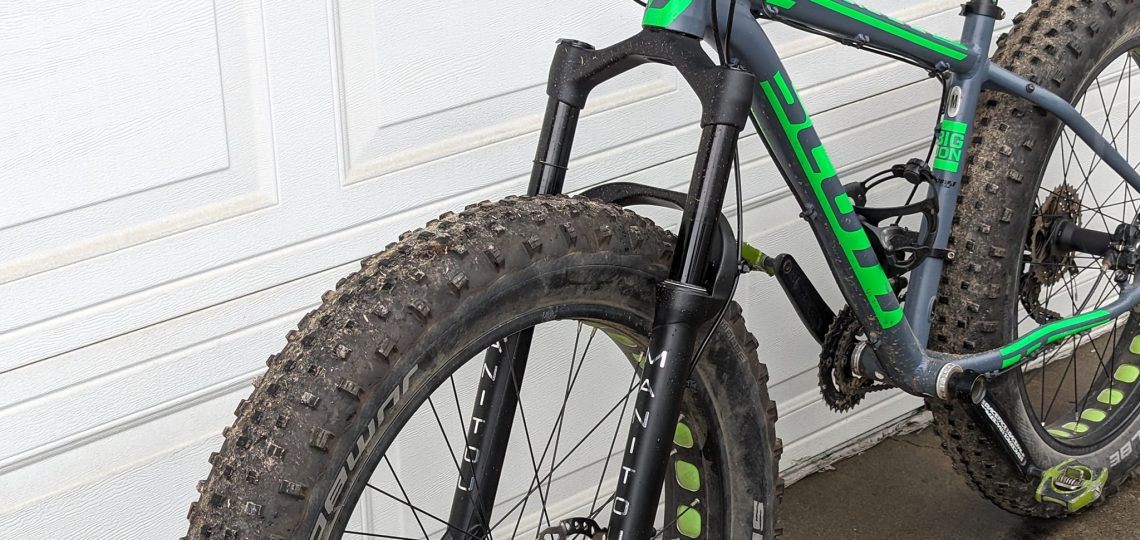
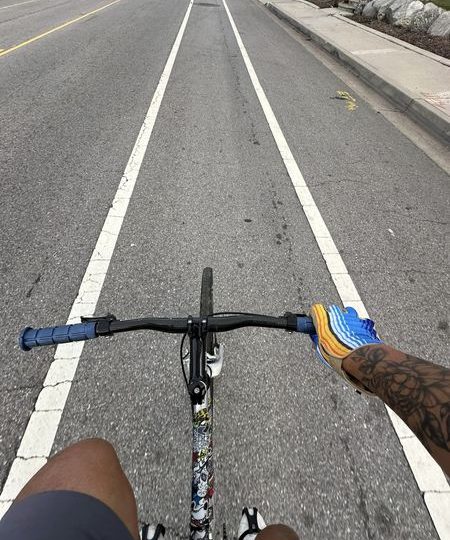
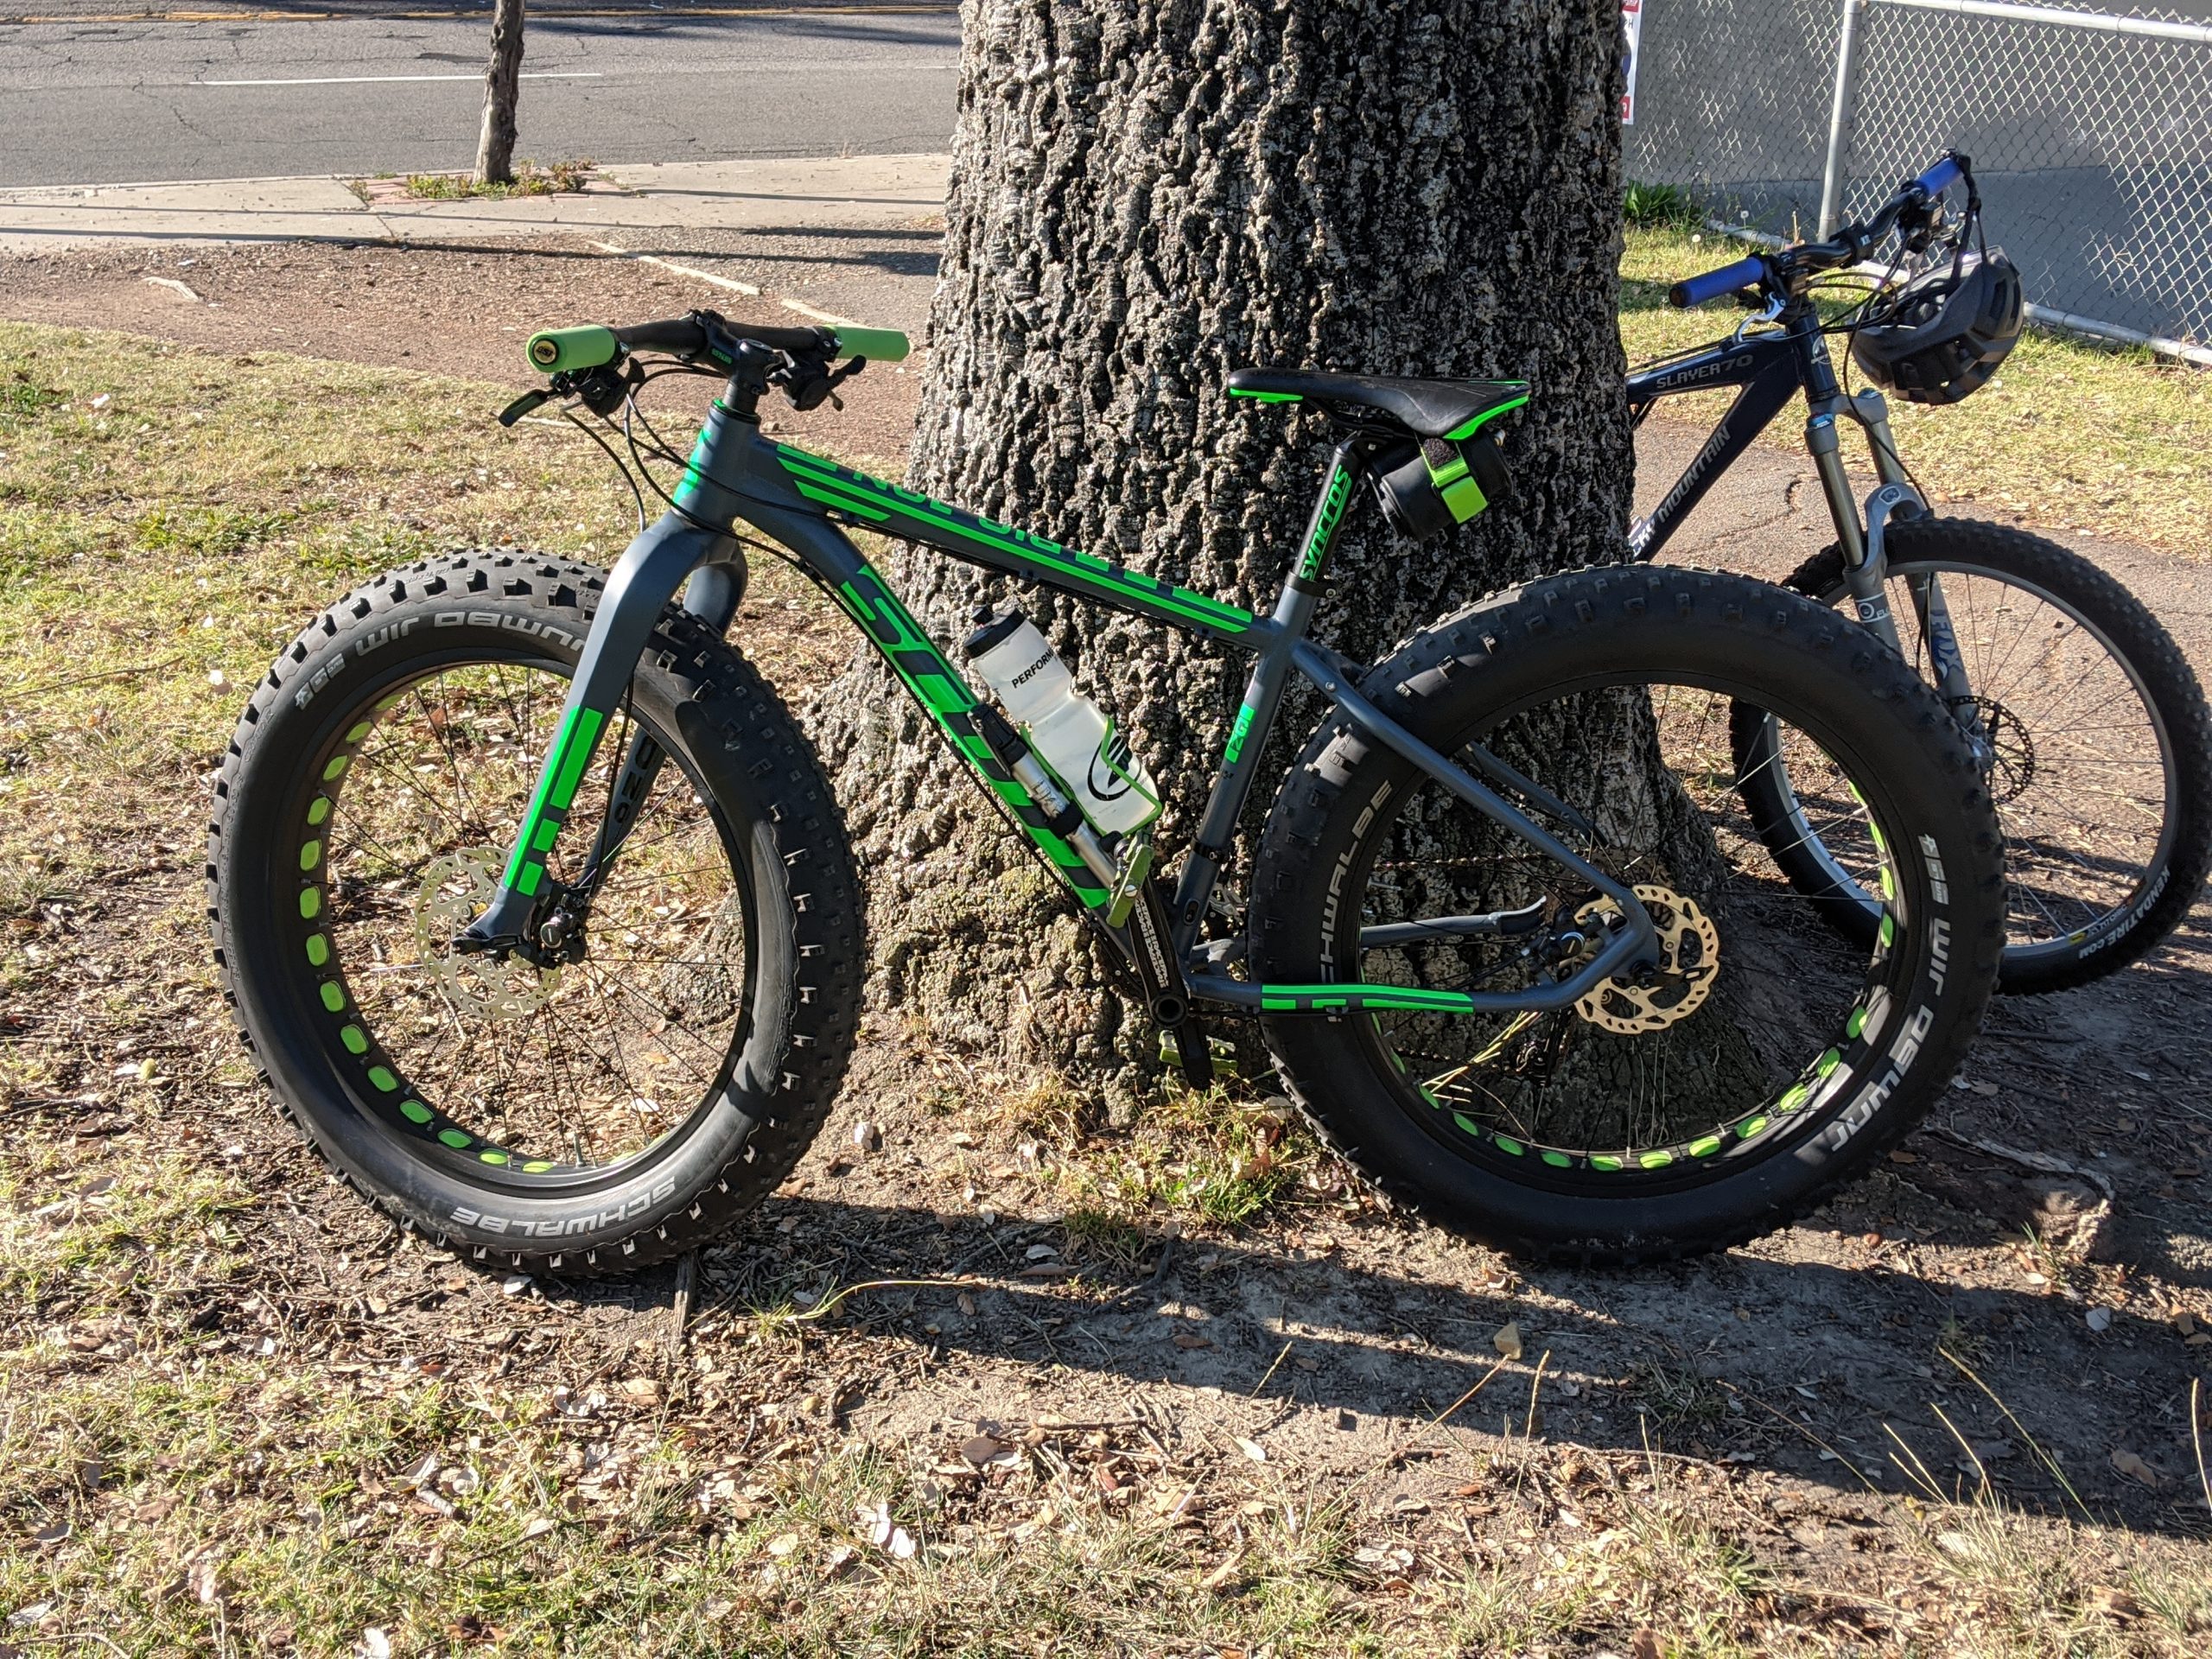
I had been toying with the idea of buying a hardtail bike to ride the Fullerton Loop and listed my Scott Big Jon Fat tire bike up for sale. After a few lowball offers, I started researching adding a front suspension fork for the Scott Big Jon. I found a brand new Manitou Mastodon Comp…

I was one of those who believed that e-bikes are “cheater bikes” and yes, they are if you are racing against non-e-bikes or if you are using them to exercise. But let me explain what I mean by cheating. What I have discovered is that the level of “cheating” depends on the rider; it is…
Back in October I listed the Scott Big Jon fat tire bike for sale on Facebook marketplace. I then got a message from them that my ad was being reviewed because it was violating their “commerce policies”. I appealed Facebook’s decision to remove my ad and 3 months later they sent me another message that…
After ridden cow trail 19 years ago, we went back to ride this singletrack that is nested in the Puente Hills reserve. One of the reasons that I avoided this trail for so long was the exposure on the left hand side. I am afraid of heights and we did have a friend that fell…
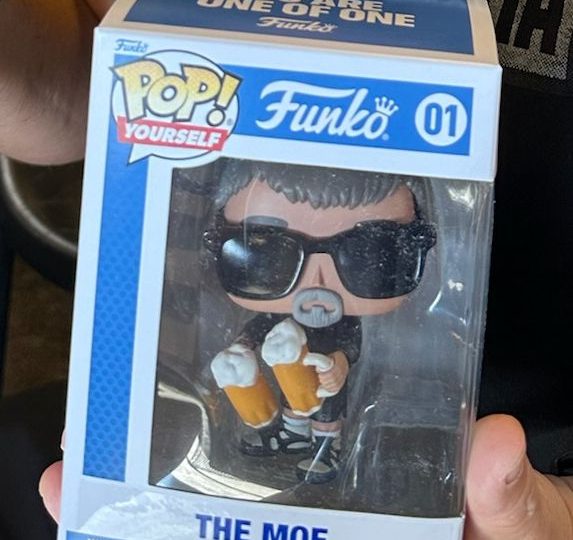
Nicknames come and go but Moe Ramirez’s “The Moe” nickname has stuck for a while. Moe embraces this nickname sort of as an alter ego but how did “The Moe” originate? Well, we have to thank former MtnBikeRiders.com writer Jeremy Yang for the nickname. Here is his blog post of how “The Moe” came to…