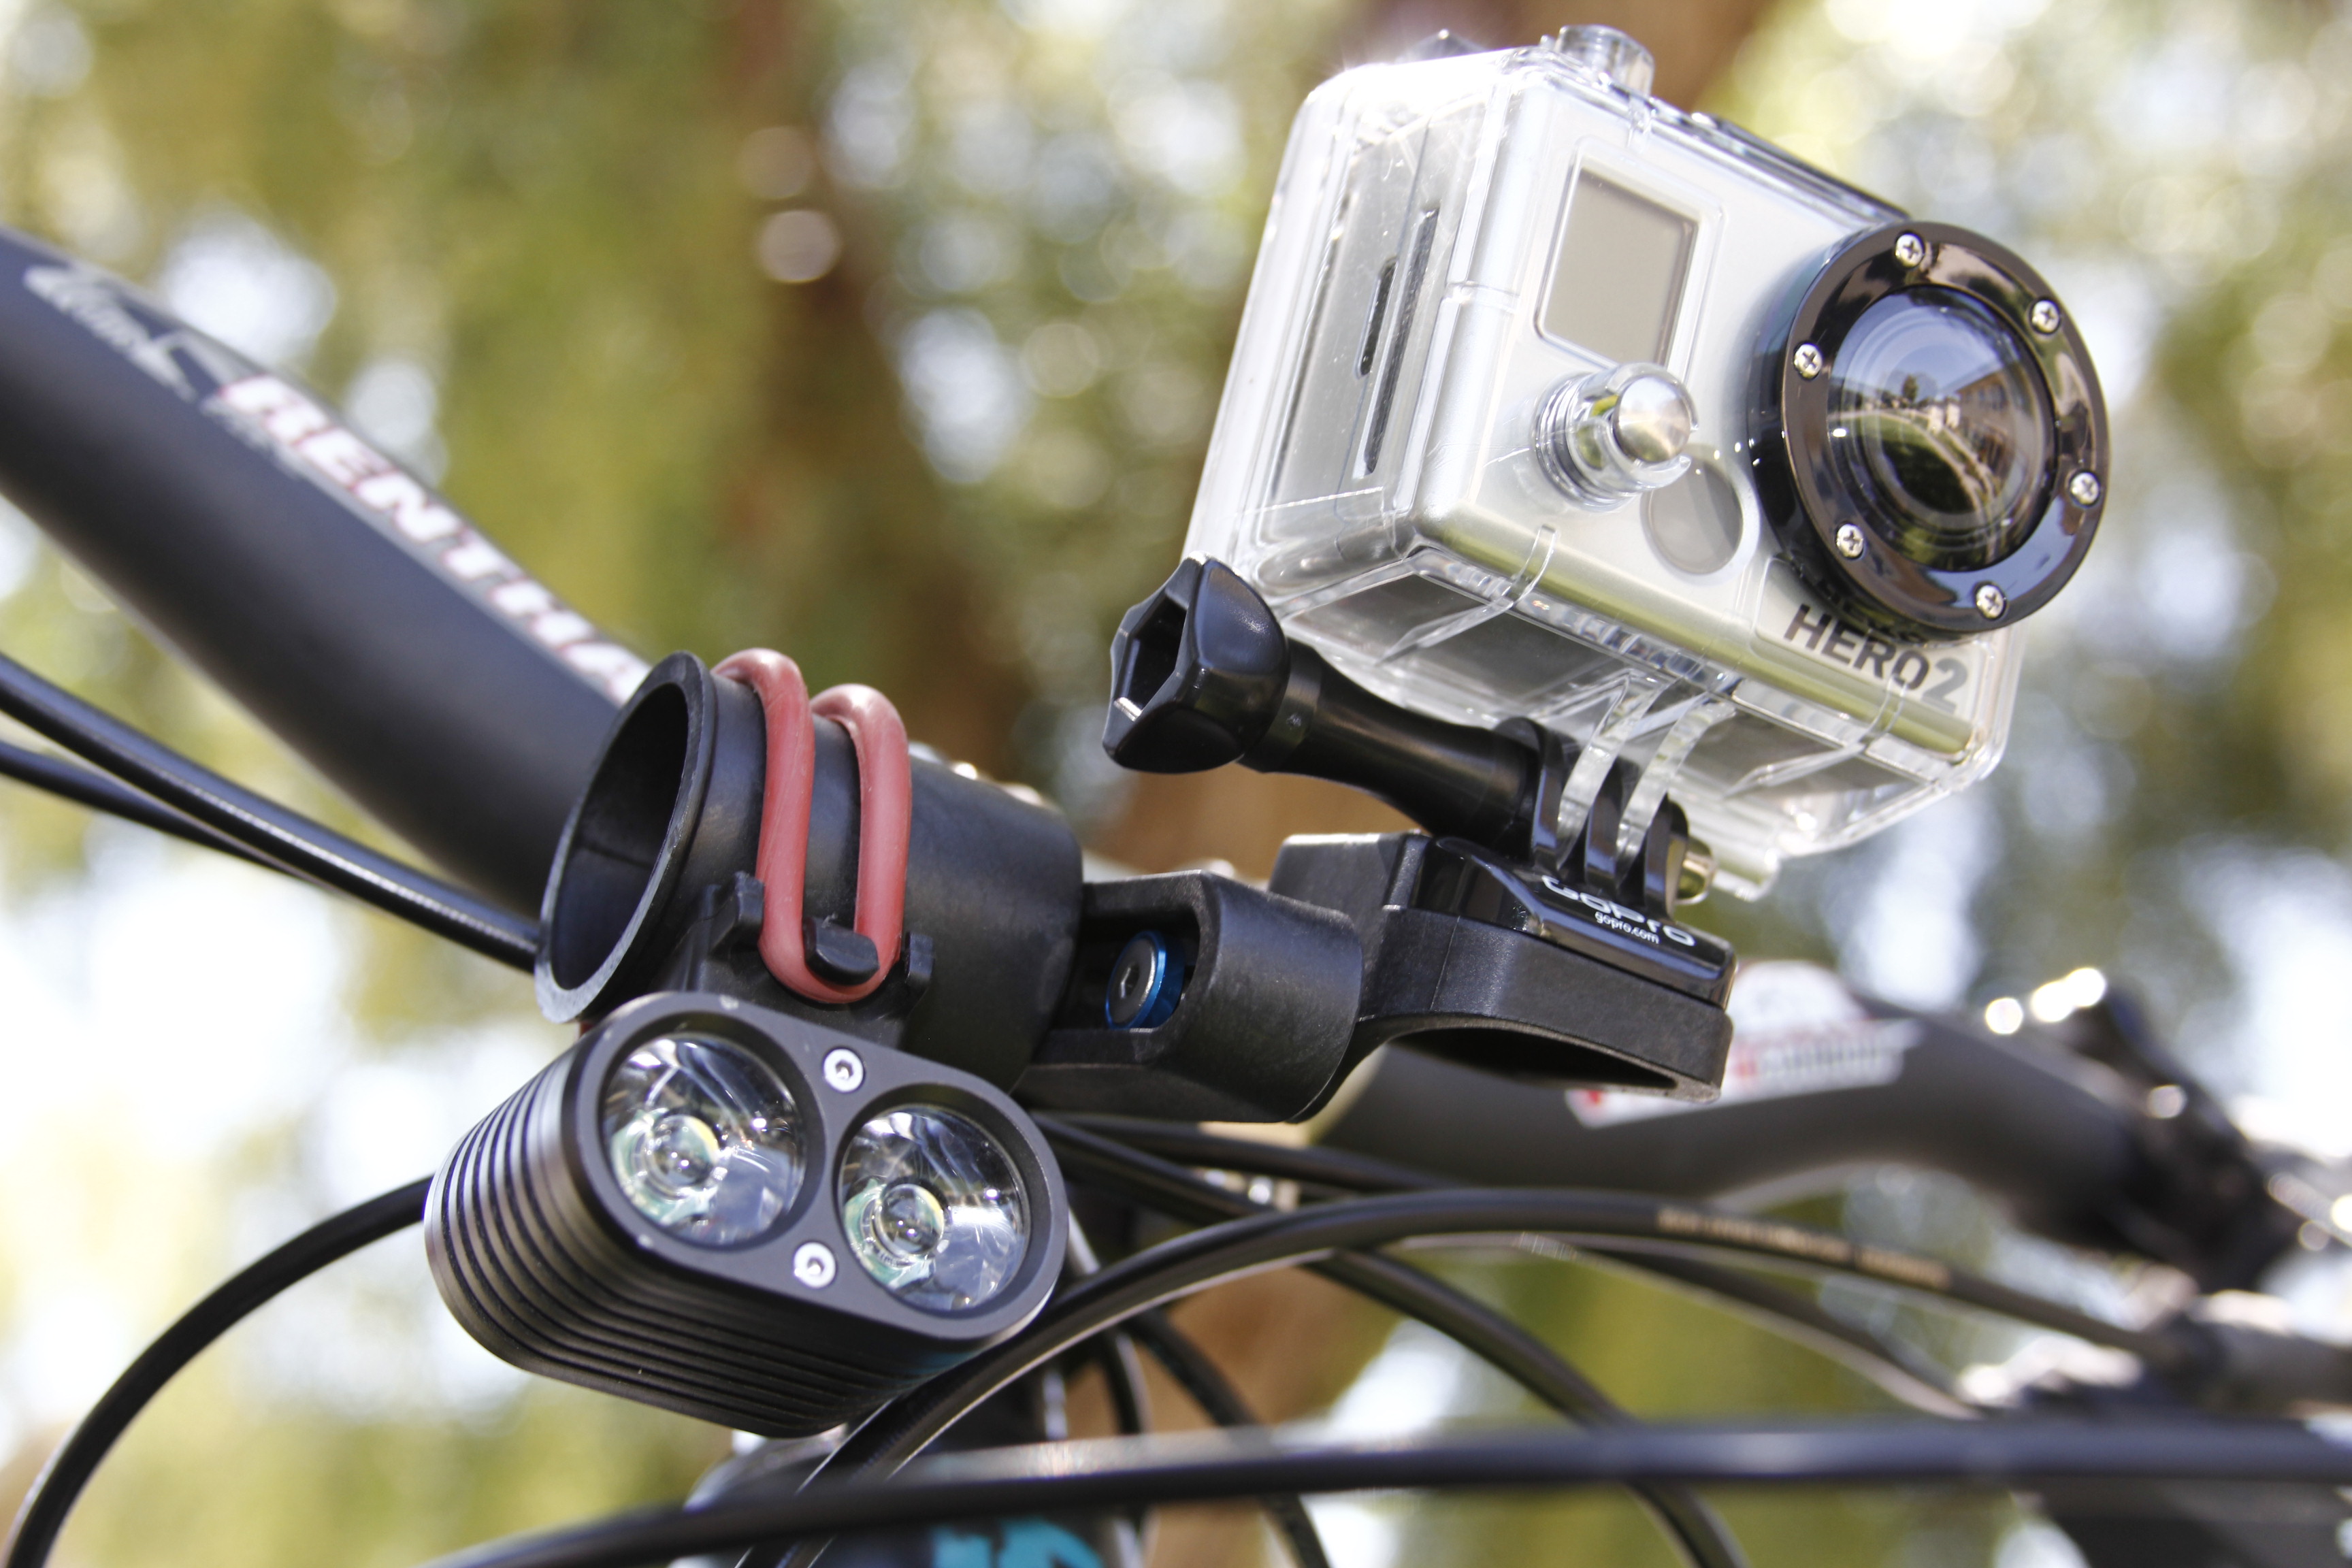
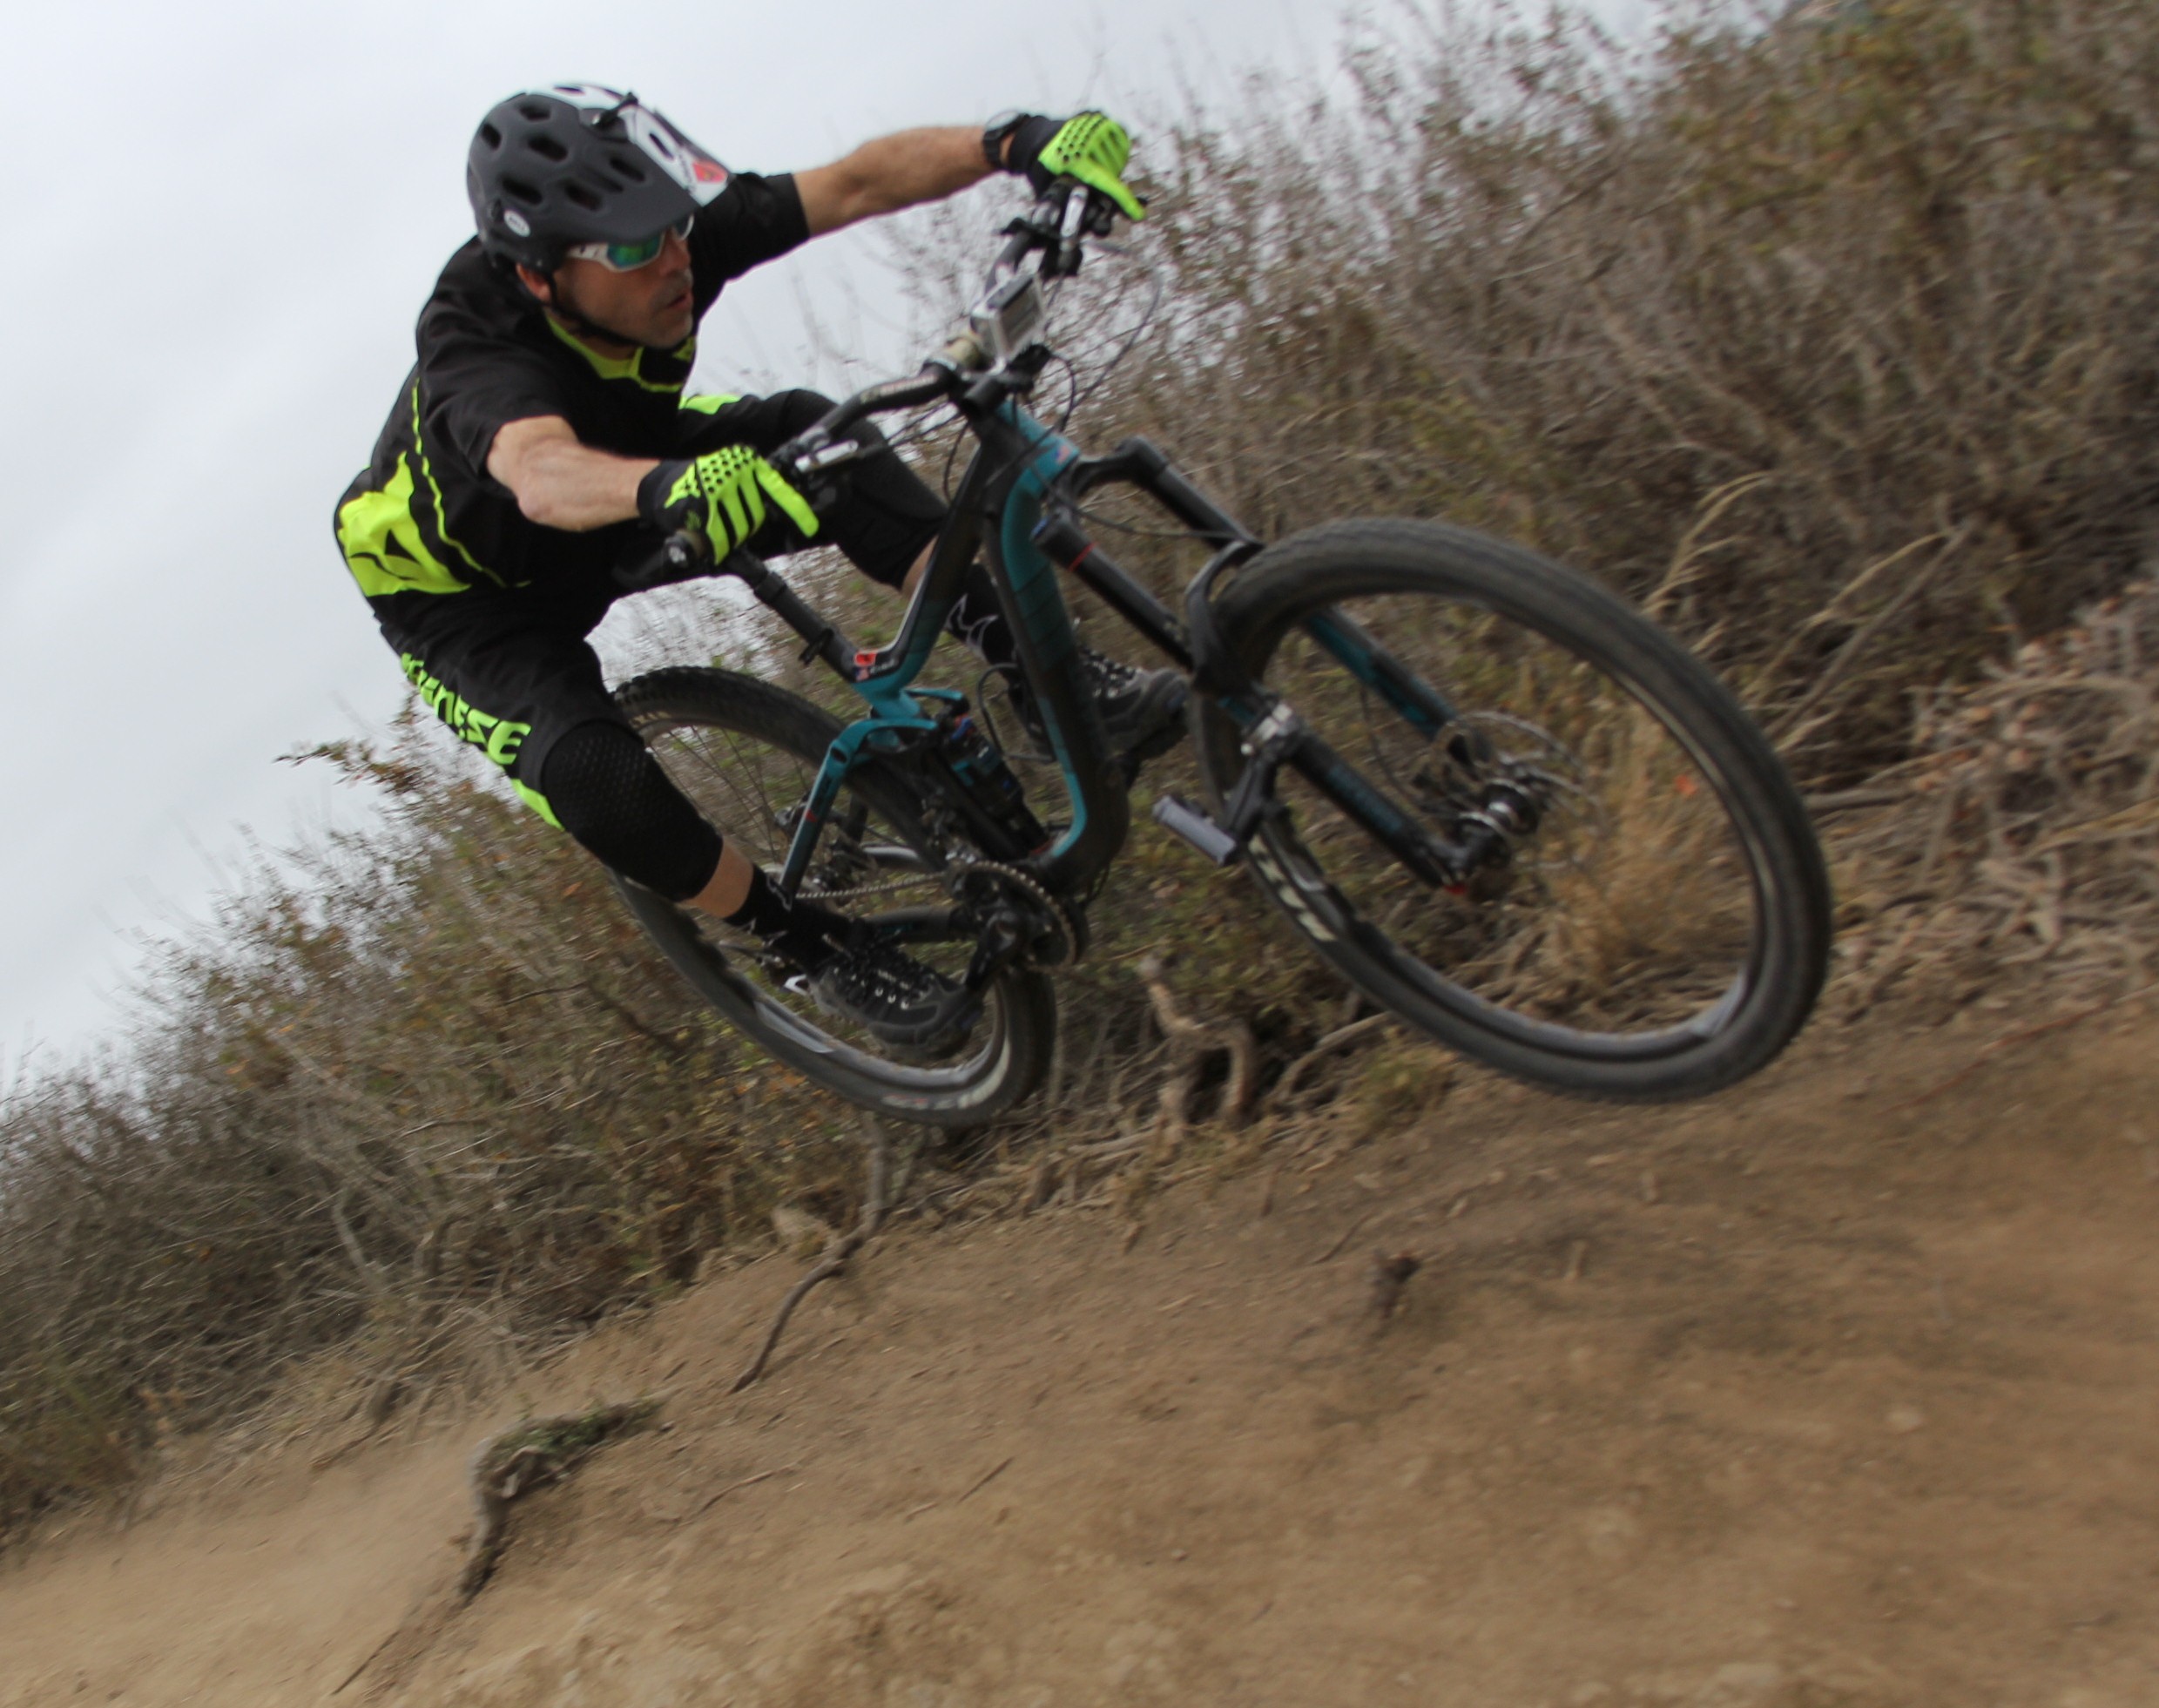
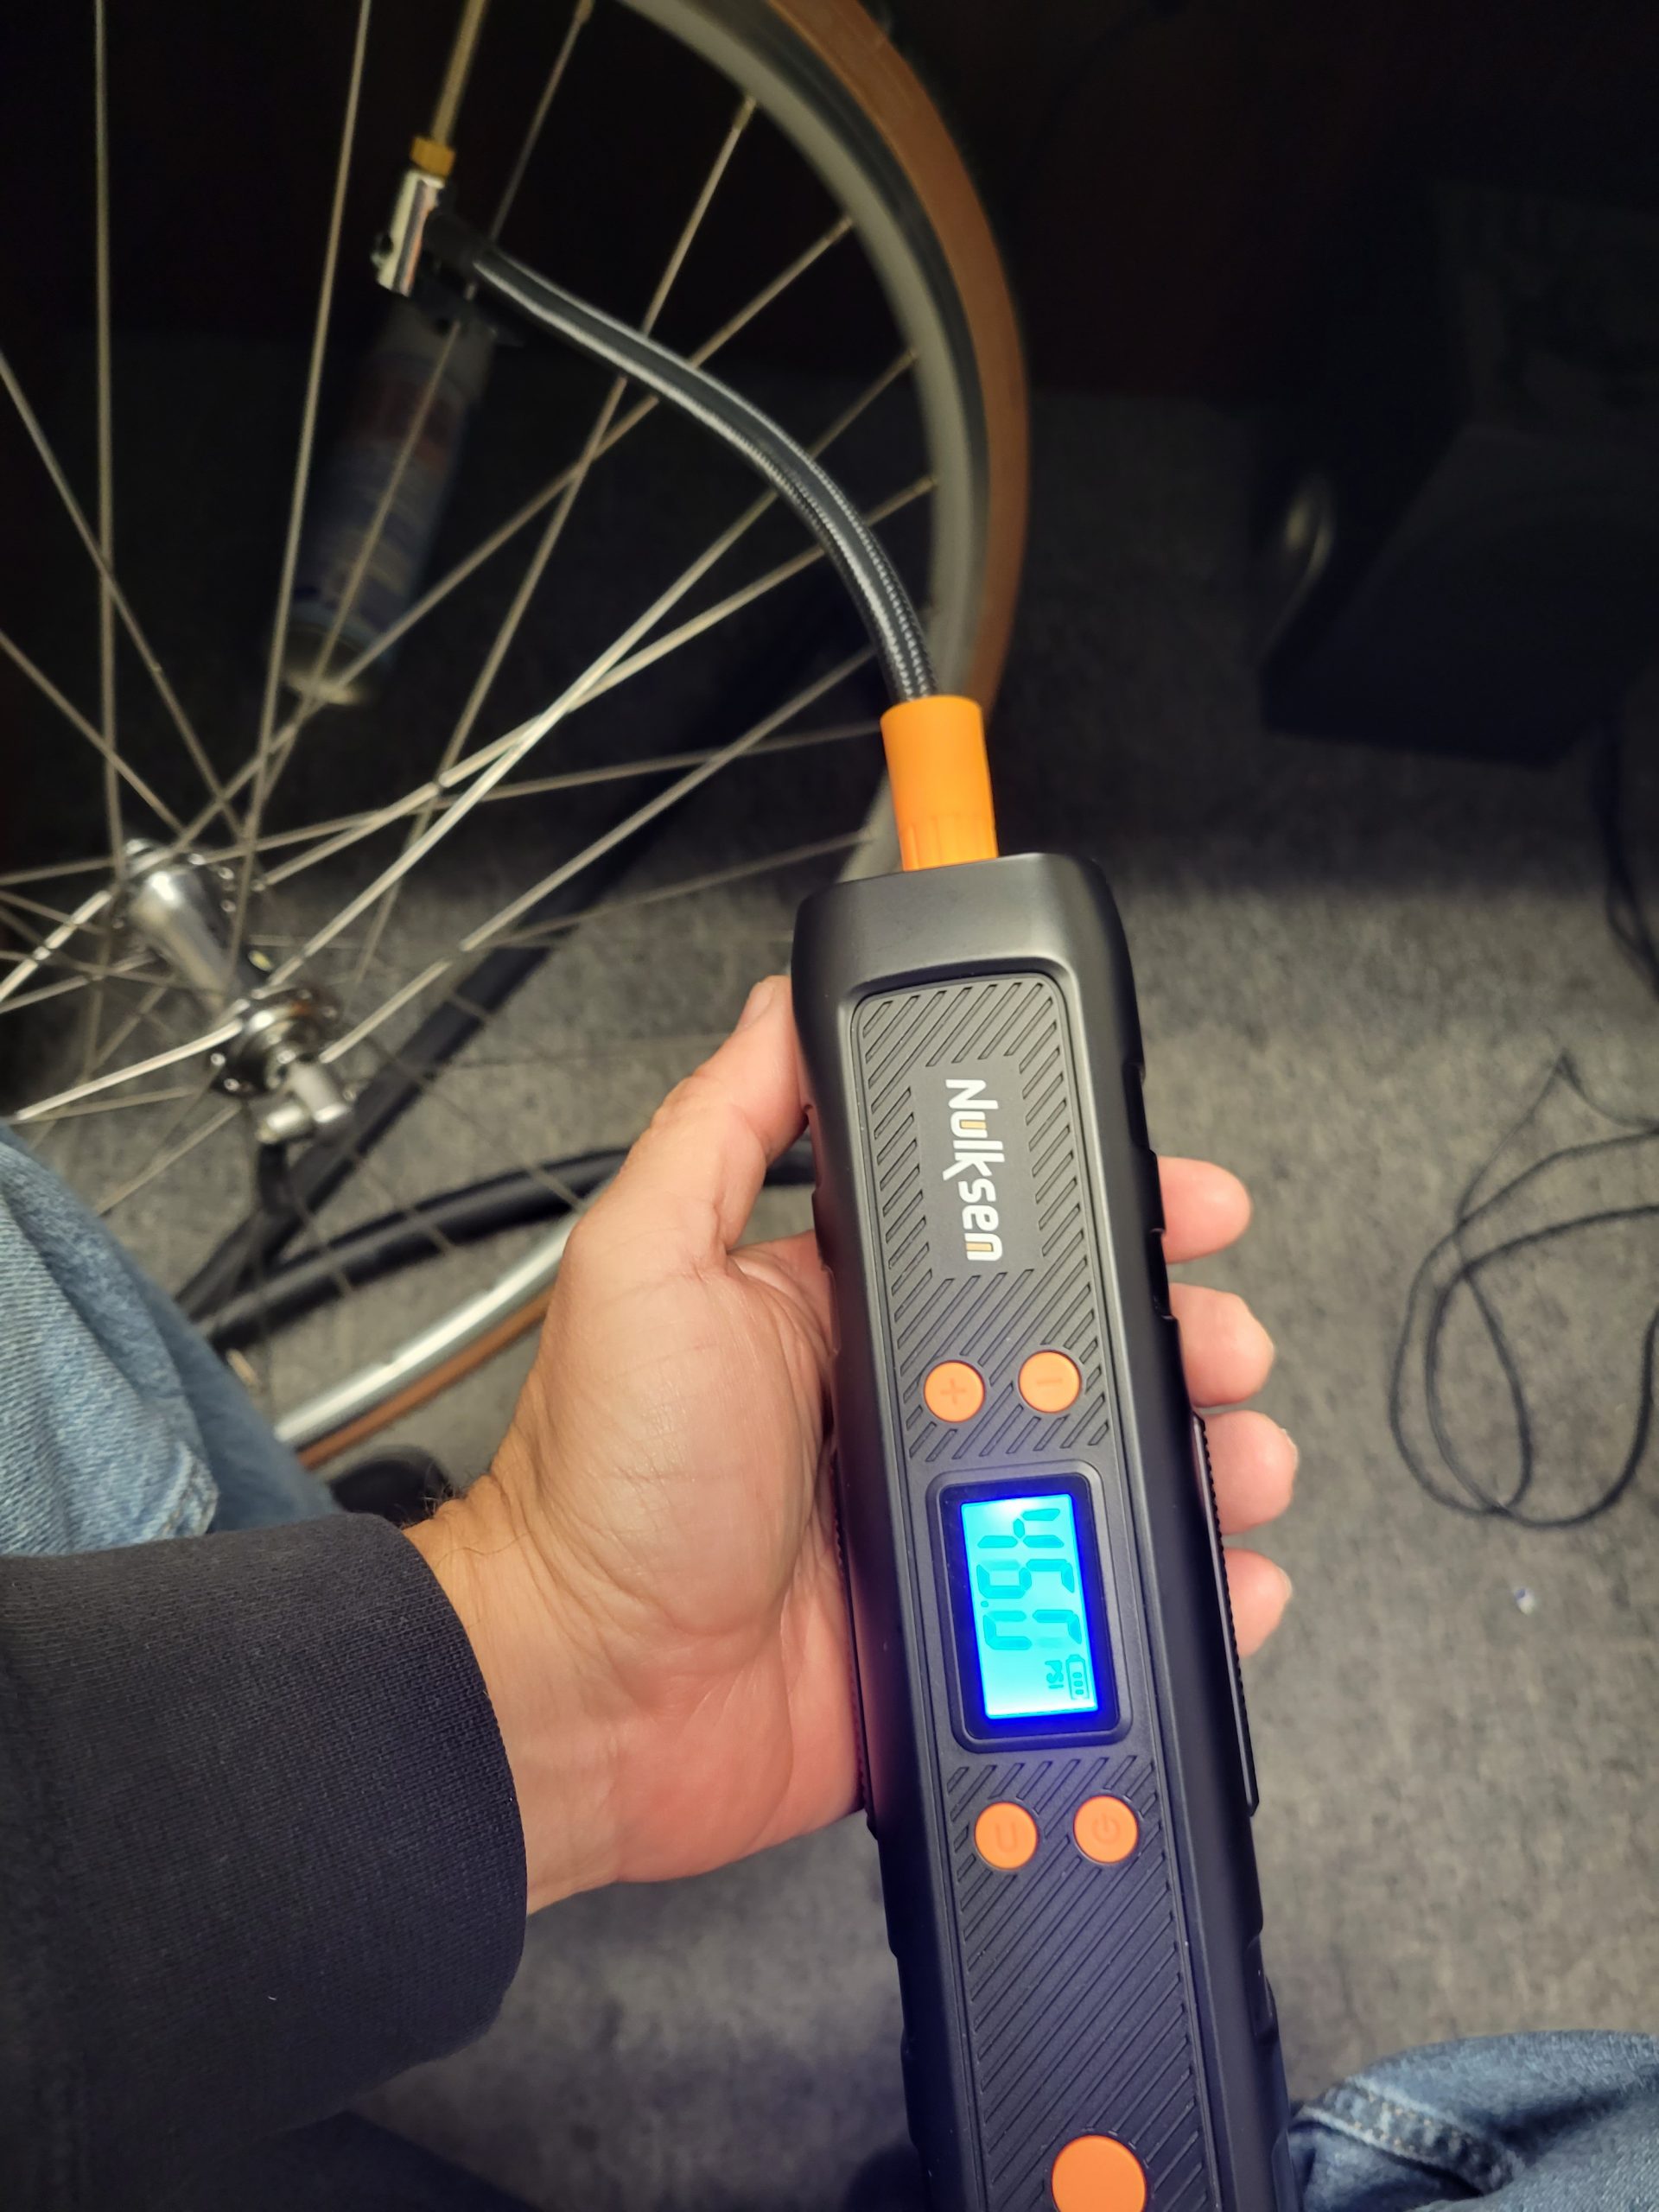
MtnBikeRiders.com

Would you say I have a plethora of pinatas?

Category: Reviews

3M Nexcare Tegaderm Review

Posted by RL Policar On May - 14 - 2013

 Powered by Max Banner Ads 

About 10 days ago I took a spill while taking a flat turn at Whiting Ranch. This little crash resulted in a road rash on my forearm, knee and finger. I started off with bandages to treat them, but found that those things were sticking to my wounds. So I went to the local CVS and found this, 3M Nexcare Tegaderm. If you’ve never heard of it, basically it’s a wound dressing that’s clear. The idea is to keep your wound sealed from the outside world to prevent infection and from you hitting/touching it on other things.Nexcare Tegaderm

The cost for a box of 4 hovers around $17, sounds pricey for fancy “band-aids” right? Below is the worst of my wounds, on my forearm.

I applied 3 of the 4 dressings on the would in a period of 8 days. During that time the wound would ooze out some nasty clear/brown/yellowish fluid. It didn’t smell or anything so it wasn’t infected. The gross thing about this dressing is that the fluid would collect inside and sometimes gravity would cause it to ooze down your arm. The directions say if the dressing starts to leak, replace it.


Here’s the wound after 7 days of being under the Tegaderm. Looks good so far right? No scabs! By the way, one dressing can be left on the wound for up to 7 days. But since I was oozing, I replaced one after one day and the second one after 3 days. The one on the photo was on for at least 4 days.

The dressing did a great job in allowing the wound to heal without scabbing. Here it is after 10 days.

I actually liked using the Tegaderm for my wound because I could take a shower, sleep and even go riding while this thing was on my arm. I highly recommend stocking your medicine cabinet with a box in the event you do crash, you’ll be ready.

FTC Disclaimer

Skratch Labs Review

Posted by RL Policar On May - 2 - 2013

Our long time friend of the Bike Industry, James Thomas of Serfas, has graciously accepted our request to have him review Skratch Labs Sports Drink. Read his review below and make sure you watch the video too!

skratch labs review

When RL asked me to do a product review on the Skratch Labs sports drink, I was very excited. I follow the bike industry news pretty closely and had actually seen Skratch Labs hilarious marketing video before RL asked me to review it.

The truth is, it was probably just a matter of time before I would have purchased some Skratch Labs hydration mix because I am an electrolyte replacement junkie. I have tried them all – Gatorade, Pedialyte, Nuun, Hammer, Clif, Powerade, Heed, Cytomax, etc. Well, I can honestly sum up this review of Skratch Labs Sports Drink by quoting my favorite foodie: Guy Fieri – “Welcome to Flavortown”! The Skratch Labs Lemons and Limes has amazing fruit forward flavor that will blow your mind. I know it’s a cliché, but it really does taste like a pure lemon and lime drink without all the extra sugar and calories.
skratch labs drink review
Two things that I dislike about electrolyte replacement drinks in general:

- The thick phlegm left in your mouth that causes your spit to come out sideways and land on the arm of your jersey while riding

- Leftover residue in your bottle that makes it taste like said sports drink for the remainder of that bottles’ lifespan
skratch labs
I found that when mixed correctly, the Skratch Labs Lemons and Limes to have a clean aftertaste – no phlegm issues and it rinsed clean from my bottle without a heavy aftertaste. Both of these traits make Skratch Labs a winner in my book. Big Kudos to the folks at Skratch Labs for creating a sports drink that is more flavorful with less sugar and calories than other brands on the market. I highly recommend you try it out and see what all the buzz is about.

Our FTC Disclaimer

THE STEADICAM SMOOTHEE TESTED

Posted by Art Aguilar On April - 18 - 2013
DSCN1302

WHAT COMES WITH THE SMOOTHEE. ONE BELT CLIP, ONE GOPRO MOUNT, SMOOTHEE, AND ONE BAG

MAKING WEBSITE MAGIC
As you our readers go through the mecca of knowledge on our website countless times and see all the cool footage of test, cool stories,  events,  and all things mountain biking, you must wonder, “how do they it”.
I’m not only talking about the effort and lengths we go to when we get that ultimate pic that just blows your mind, or that photo presentation of products, and let’s not forget the how to sections we do.  A lot of this has to do with our raw ability to showcase our subject in such a way you that you just have to go right out there and buy it or go straight to that trail to have the same fun we do. We like that we excite you in that way, but I have to tell you It’s a lot harder than that, it’s the early mornings and late nights, long film edit nights with constant emails and sit down meetings about what to put on the site. There are really a lot of trade secrets I can’t go into.

OK, OK, so it’s not all us and it doesn’t have a lot to do with trade secrets, but that sounds so good right.  To do what we do, we rely on the tools of the trade and when we descend on an event like say Interbike or Sea Otter, in tow is our media gear to make the magic. These are backpacks with the weight that only an Army Ranger can carry.
Our typical gear list goes something like this, laptops, camera gear, cords, pens, voice recorders, tri pods, and a whole lot more. We more or less walk the equivalent of a marathon during some events with gear in tow.

THE SMOOTHEE IS VERY STREAM LINED AND SMALL WHICH MAKES IT GREAT TO HANDLE

TIFFEN STEADICAM SMOOTHEE
We are always looking for equipment to use that will make a test product look great or an interview and ride smooth. Our camera gear is essential to our use to help tell our story to you and if we find something that won’t break the bank that we know you can use to tell your story we’ll let you know.
Before we left to Interbike last year I had seen a video on YouTube where a guy was using a hand held Steadicam, this made me think this would be a great tool to use in what we do, but I needed something small that would work with a GoPro or Contour cameras. It had to be small and light in weight so we can say carry it on our belts or backpack straps. Now if you’re not familiar with a Steadicam these are used to get movie shots where the camera man is running or walking next to the actor and the shot is smooth meaning no bumps or jiggling. These rigs changed movie making, but they are very big and very expensive. There are smaller units that will work with DSLR’s (Digital, Single, Lens, Reflex) cameras and they go anywhere from $100 to $300 bucks.

Still needing something that would work with small POV cam can be a tall order to fill, so while researching on the web I came across the very company that makes the big time rigs for Hollywood. Steadicam and their Steadicam Smoothee. This is a small hand held unit that will work with GoPro, iPhone 4/3G, iPod touch, and Flip, no Contour yet.

DSCN1301

COOL PACKAGING


DSCN1305

ADJUSTMENT IS EASY WITH THE RED KNOBS AND SLIDING COUNTER WEIGHT ON THE FRONT BARS.

HOW IT WORKS
Now when you order your Smoothee you need to order the one that will be for the camera you need it for, in this case it was the GoPro. It comes in a nice box that looks like a briefcase telling you what it’s for and what you get  is one Steadicam Smoothee, one quick camera mount, one belt clip, and a nice carry bag for all of it.
Now when I received the Smoothee it was very easy to set up. I borrowed a GoPro, mounted it to the cam mount no problem. The next thing I had to do was set the fore aft and left right balance. This is all done by the two red knobs on the unit. The one on the left side controls the tilt right, tilt left and the one on the rear of the unit controls the tilt forward, tilt back. Now if you still have a slight balance issue with the camera going too far forward or back the round black disc on the front that says Steadicam is a counter weight that you can slide up or down to fine tune the Smoothee.
One other thing that is really nice about the Smoothee is the handle; it fits your hand very nice and allows you great control moving it left and right, or tilting it down or up. This is all done by the super smooth gimbal in and on the top of the handle. This will take a little practice to get used to when you use it.
Go to the Steadicam website they have some very good videos on how to use the Smoothee.

GOPRO MOUNT UP CLOSE

TEST TIME

Before we took it out to any trails I wanted to do something that I thought would be a little easy (around the house) and the other thing I had to play with was the fact that I have the Contour cam and Steadicam does not make a mount for the Smoothee, so seeing that it was only days before the MtnBikeRidres.com team descended upon Interbike and I was going to get my GoPro at the event I had to come up with something quick. I had a standard GoPro clip mount that was for a helmet, so what I did was a little cutting, filing, drilling, and “BAM” I had a mount.
Now this didn’t come without a little balance problems seeing that the Smoothee isn’t really made for the Contour, but I got it to work and did all the Interbike shots with it (see Interbike footage 2012). I had quite a few people stopping me and asking me about this little beauty. The Smoothee worked really great getting in and around products and doing interviews.
The next test I gave the Smoothee was the walk around bike view. This allows us to give a great perspective of the bike showing you all aspects of a bike.
The run/walk test takes some practice seeing that if you bump into an object it can kill you shot, but walking or jogging next to a rider gives you a smoother shot then if you didn’t have the Smoothee.

THE SMOOTHEE HAS GREAT CONTROL WITH JUST USING YOUR THUMB, BUT ON A WINDY DAY IT CAN BE HARD TO USE.

THE SMOOTHEE HAS GREAT CONTROL WITH JUST USING YOUR THUMB, BUT ON A WINDY DAY IT CAN BE HARD TO USE.


PRACTICE DOES MAKE PERFECT. PLAY WITH IT AND YOU WILL SEE A DIFFERENCE IN YOU VIDEO

PRACTICE DOES MAKE PERFECT. PLAY WITH IT AND YOU WILL SEE A DIFFERENCE IN YOU VIDEO


FINAL THOUGHTS

This will prove to be an invaluable tool for us and seeing that I was able to get my Contour to work on it was a good thing, but Tiffen’s Steadicam Smoothee is made to used with a GoPro and it works great for it. It’s very easy to work, it’s built tough and with practice you will make some great movies.
The price for movie magic goes for about $170.00, but go online and shop around for them.

We wish to thank Tiffen for sending us the test unit and putting it through its paces.

Our review disclaimer

Pedros Ice Wax Review aka Lube That Chassis

Posted by Albacore On February - 8 - 2013

So, a friend asks me tonight, “What’s the best lube to keep my bike as slick and as dialed as yours Albacore?” I tell him of this new (to me) stuff I have been using lately. When I find something I like I stick with it. Once a product proves its worth I become a loyal follower. I write its name over and over on my Pee-Chee, I tattoo it on my neck, I build a shrine to it in my yard surrounded by candles, and the truest test of loyalty — I gladly pay, sometimes even pay more for it. So to get me to switch to a new product that product had better be phenomenal. You had better be lighter, stronger, faster, tastier, emit rainbows, breed unicorns, or dispense cash, candy, and liquor. Or, the ultimate tool of persuasion, you are free.

That is just what got me to switch from Boeshiled T-9. I have been using T-9 exclusively since 1998. Prior to that I have tried every lube there is. Some were too oily, too waxy, too flaky, too messy, or were only good for making a blue flaming drivetrain.

Nothing has ever beaten T-9. It works. It keeps your chain lubed in all conditions. It is smooth, quiet, reduces wear and friction, keeps your drivetrain clean, and makes you waffles in the morning. So when RFD knocked on my door bearing gifts I was reluctant to say thanks. In one hand he had a bottle of homemade wine (I did thank him for that), and in the other hand he a bottle of Pedros Ice Wax.

Pedros Ice Wax

The bottle of Ice Wax sat on my workbench for a few weeks. Then, when Newb had me tune his bike I figured he would be the perfect guinea pig. After all, NMB is spoken here. (NMB — Not My Bike.) Now I am particular about my bike. I am not going to spray a new lube all willy-nilly on my chain without first removing all parts and doing a thorough solvent wash. Always start with a clean slate, err chain. Again, Newb’s bike was the ideal candidate.

The first thing I noticed about Ice Wax was its viscosity. This stuff is thick. The bottle has a finely tipped applicator that dispenses a steady stream of icing. Yes, it looks like icing. I thought for a minute I had one of Lady P’s cake decorating tools and not a bike lube. I thought that there is now way this is going to keep a drivetrain clean. On the bright side, it is so heavy you easily see where you applied it. There is no guessing if you have hit every link.

From Pedros site:
Guide_LubeChain

I recommend you pedal slowly when applying Ice Wax. Its viscous nature will disperse itself all over your frame and components if you go too fast. Simply hold a rag around the chain, backpedal, and wipe off the excess. Next, which is key with ANY and ALL lubes, let it sit for an hour, or 2, or ideally, overnight. I hate those wankers(C) who pull up to the trailhead, unload their bike, squirt on some lube, then ride off. I want to strangle you with a derailleur cable.

So, by now you are either dying to know how this stuff works, or you have gotten bored and are now perusing some Hot Latinas site. It works great. I have been using Ice Wax for 2 months and I love it. How much do I love it? 1: I’m using it, that’s endorsement enough. 2: I’m reviewing it, and recommending it completely unsolicited. I was not asked to try it out and write a review. It is something I started using and was impressed with. I suggest you use it to. Hell, I would even buy more when my current bottle runs out. Like the name says, it is a wax, and thus, works like wax. Novel huh? It coats completely, keeping dirt and grime at bay, keeping everything smooth and slick and quiet. It is not specifically designed for muddy environments but in these past wet weeks it has worked well to keep me clean and shifting through the slop. Just look at how nice my chain looks:

overgold1

Pros:

Lasts for multiple rides
Clean
Quiet
Smooooooooooooooth
$10 for 4oz is a deal

Cons:

Can be messy when applying if rushed or overapplied

Kuat Vagabond Review

Posted by Albacore On January - 18 - 2013

Kuat Vagabond

So in August I turned my little commuter soda can into an 80 mph shopping cart. That’s a lot of beer fueled football games and rum soaked partying since then, so it is easy to forget the preview I posted.
It is aptly named the Vagabond. I quit loggging the miles this rack spent perched atop my car after 3000. I have removed it and remounted it half a dozen times since then. This do in part to its ease of installation. The Vagabond mounts to round or square crossbars via four clamps. These clamps are shaped in a way that allows them to accommodate nearly any crossbar spacing. This is a good thing since my Civic is a two door with very little rooftop real estate. I was concerned about the crossbar spacing prior to mounting the Vagabond. Kuat specifies that your crossbars be no less than 22″ apart. Whew! I just made it. The four clamps are secured via 2 castle nuts each. These help make installation a breeze but could also make theft just as easy. Said castle nuts also sit up a little high. Depending on what you are carrying in the cargo basket, these nuts may get in the way (yeah, yeah, I know, it sucks when your nuts get in the way. Especially when you sit on them.). The Vagabond relies on a standard quick release skewer to mount the bikes (not provided). I suggest you invest in a quality set like Shimano’s QR skewers to keep with the rack. It quickly becomes a PITA to fully remove your front wheel’s skewer to mount the bike. Then you’d have to remove it from the rack to reattach your wheel once at the trailhead. The Vagabond does comes with 2 burly nylon straps to secure the bikes’ rear wheels.

Kuat Vagabond

Kuat Vagabond

It has a wind fairing which does a good job of cutting the wind noise and allows you to plaster even more stickers to your car — making it look like the entrance of a Wahoo’s Fish Tacos. As with any rack gas mileage is cut slightly but not so much to be a concern. I mounted mine first in line with the slope of the roof, then a little forward as evidenced in the pictures. The in-line position produced less wind noise but having it more forward made weight distribution more balanced. Remember, I have a small car. Any 4-door sedan, SUV, or wagon would not have such an issue. Despite the small footprint I have with the Vagabond, it has always remained secure.

Obviously, the Vagabond is great at carrying bikes. But you could do that a multitude of ways. What makes this so nice is its ability to carry anything you can fit in the basket. I was able to go the beach with 2 bikes, 2 beach chairs, and a skim board all loaded in the Vagabond. Now I can leave my truck at home and still carry what I need; while also fitting my car in compact parking spaces.

Kuat Vagabond

The list of features I don’t like is short. One item short — lockability. To lock the bikes to the rack you would have to use a cable lock. To be extra secure, you would have to swap out the castle nuts for hex nuts. This change wouldn’t make the basket theft-proof, but it would require tools and time to remove, thus making it a lot harder to steal/remove. Thankfully, like all smartly profitable companies, Kuat has addressed this issue with their upgraded Vagabond X. The Vagabond X has locking mounts and integrated bike locks for a retail of $489.

The bottom line — would I spend MY money on this rack? Dunno, maybe, but I am a cheap bastard. I really like the thing. Overall it is well made and is just the right size. What really sets this apart from similar products like Yakima’s LoadWarrior are the two bike mounts. To accomplish the same task with the $279 LoadWarrior you would have to buy 2 of Yakima’s bike tray racks at another $100 – $180 each. Not only would this double the price of the setup but it would severely limit the cargo carrying capacity if the basket.

I would be more inclined to buy it if I had an SUV or a wagon. But, it does greatly increase the cargo capacity of a little car like mine so. . . maybe I am the ideal candidate for a Vagbond. To be honest, had I not been given this rack to test, it would never be on my radar. It is one of those luxuries you never knew you wanted, and once you have it, you don’t know how you’d go anywhere without it. My dad just bought a Subaru wagon and is jonesing for this rack. I’m going to mount it on his car and drive over the other half of God’s green acres. I can’t wait to borrow pop’s car again, just like 20 years ago in high school.

Pros:

Ease of installation
Ability to carry 2 bikes plus cargo
Well constructed
Ability to fit nearly any crossbar configuration

Cons:

Lack of security

MSRP $295

Kuat Vagabond

FTC Disclaimer

2013 Airborne Goblin Review

Posted by RL Policar On January - 7 - 2013

During Interbike 2012, we had a meeting with Airborne Bikes Brand Manager, Jeremy Mudd about all the great things that are being planned for 2013. One of the things he mentioned was the new Goblin and he had gladly offered us a bike to test out. Fast forward to the Fall, we received this…
airborne goblin small
The New 2013 Airborne Goblin, Small. No doubt it’s a handsome bike and we liked that the small frame has a sloping top tube to allow stand over height for shorter folks like us at MtnBikeRiders.com

Specs:

FRAME: Tapered HT with increased rear wheel mud clearance, increased stand-over clearance on the 16″ frame-size.

Tapered Reba RL fork with increased 100mm travel

Larger 180mm rotor up front for increased stopping power and fade resistance

New 38/24 gearing on the all new SRAM X7 crankset that offers a better gear range for climbing paired to an 11-36 cassette.

Geax AKA 2.2 tires that roll fast on hardpack and offer outstanding grip on loose and rocky terrain

New Selle San Marco Ponza Power Saddle

Finally, the most important thing: we managed to do this all for a price of $1199. That’s only $50 more than the past Goblin in spite of rising industry costs!
Price: $1,199.95

We did make a few changes to the Goblin due to personal preferences and short arms like a T-Rex. First thing we did was install a 40mm stem and then we also swapped out the Selle San Marco Power Saddle with a Serfas Tegu saddle. Why? Because my butt, it’s just so big...

Before we get on with the review, we wanted to do something different with this bike than any other bikes we’ve tested before. We figured we’d give 3 different perspective of 3 different riders who have different riding styles and prowess. We’ve recruited Team Racers, Lady P, Art Aguilar and yours truly, RL Policar. Just to give you a brief background on each rider, LadyP is a Sport level XC racer, Art Aguilar is an Expert Downhill Racer and I am a Beginner XC Racer and Sport Downhiller. Now that we’ve got that out of the way, let’s hear from each person.
airborne goblin
First up is Lady P

I had the opportunity to give the Goblin a few test rides on a couple of different trails. My interest in the 29er was recently peaked again when I test rode a couple of 29er bikes at Interbike/Outdoor Demo this past September, so I was eager to see what this Goblin offered in comparison. I have to say overall I was really impressed. At 5’5 I’ve always been a little intimidated by the larger wheels as I thought it may just be too big for my size. The Goblin proved me wrong. As a cross country rider/racer there are two aspects of performance that are most important to me: speed and climbing ability.

There is no doubt that the Goblin improved my speed on the trails. What was most surprising to me was how effortless it was. My output of energy was noticeably less than I am accustomed to. I rode trails that I’ve ridden for years with improvement on time and felt less tired. Increased speed and more energy is a winning combination for any rider. My performance on climbs was equally impressive.
gob4
I thought it would be more difficult to climb but that wasn’t the case. The bike handled nicely on the steep inclines and it proved to make the climbs very efficient. The Goblin definitely added a different element of fun to my riding and the price point is excellent as well for those who are looking to purchase a 29er.

Words from Art Aguilar

Well my good buddy RL Policar and I finally got together so he could hand over the new AIRBORNE GOBLIN 29er hard tail could give it a little test ride. I say an expert’s view because well I’m a expert downhill racer, come on I can put this baby through the ringer, besides I want to know what all the hoopla’s about with these 29er’s. OK this is going to be my second ride in a 29er, my first was at InterBike on the new Giant Trance X 29er full suspension bike and I know all you AIRBORNE fans out there already know about the HOBGOBLIN Full Suspension by AIRBORNE and if you don’t check out their website “NOW” ( in my best Arnold Schwarzenegger voice).

THE QUICK, THE DIRTY, and THE GOOD LOOKING

Again they hit it on the spot with cost, layout, parts spec, and a cool look. Layout, climbing, descending, speeds, breaking, and handling. I really wanted to see if it’s all they say it is, this 29er thing. The one thing that’s kept me away from 29er’s is the size, no size for a little guy(height wise) like me (RL knows what I’m talking about), well AIRBORNE delivered. The small frame has a sloped bent down tube which offered a great stand over height and that fit me just right, of course the stem change that RL made was perfect for me as well, which made the GOBLIN’s layout or what we call ergonomics,great too!

I found the bike easy to pedal. The full SRAM X7 2×10 drive-train worked awesome along with that big WTB wheel-set, the GOBLIN allowed me to go up as well as down fast and they kept me in control the whole time.
airborne goblin
The ELIXIR 7 hydraulics stopped me quick and without issue. Now if you have never been on a 29er I do have to warn these bikes do pick up speed faster than a 26 inch wheeled bike, so be prepared to get on the brakes a little sooner than usual. The RockShox Reba RL lockout fork worked super at taking the bumps. Handling in the single track was good when you were in the wide open, but in the tight technical single track turning could be a little tough. This is all in your approach and I have to say that you’ll need to adjust your riding style a little being on a bigger wheeled bike, that being said you do have the advantage going over stuff easier.
airborne goblin
I was having so much fun on the GOBLIN I hardly noticed I was on a hard-tail. I just have to say I really liked my time on this bike. I can’t wait to some time on the new full suspension HOBGOBLIN (ahh,AIRBORNE buddies small please)

Now it’s time to hear from RL Policar, hey! That’s me!

If you’re anything like me, you may have voiced opinions that the whole 29er thing was just a bunch of horse pocky. Well now I’m eating crow. Here’s what I mean, and bear with me as I go about the long way of explaining my point. When I started riding the Airborne Goblin I first had to adjust to the 2×10 gearing then I had to get re-accustomed to the notion that I’m riding a hard-tail. Once I got dialed into the bike I started having some of my best XC rides ever. I’m sure it was the combination of the larger 29er wheels and the 2×10 drive train that helped me ride fast and faster.
airborne goblin
Ladyp as well as my other riding friends pretty much know me as the slower guy. For years I had always been the guy in the back. But once I started riding the Goblin things changed. With it I was able to start shaving time off my laps at the local trail. 1hour 15mins would be something I used to consider a fast lap. On the Goblin, I started chopping away at that time. I started logging in 1h, 5min laps, then I broke the hour with 59mins. While I was setting personal best records with the Goblin, my own wife and my dear friend Khoala Bear were both skeptical of what I was doing. They said that if there’s no GPS proof, then it never happened.

After work on a Friday, we decided to head out to the trail head. With a Garmin EDGE 205 in my hydration pack, we set out. I was riding so fast that Lady P and Khoala Bear couldn’t keep up! When the ride ended I logged in a 56 minute lap! Mind you, I’ve NEVER and I mean NEVER EVER been able to come near 1 hour on ANY XC bike I’ve ever had. But it wasn’t until I started riding the Goblin that I was able to smash some personal bests.

To the credit of the Airborne Goblin, I am convinced that the combination of larger wheels, 2×10 drive train and XC geometry, and fast rolling XC tires helped me ride faster. The bike really does such a great job on out pacing other bikes on flats. The best way to describe on how fast the Goblin is to picture yourself riding a road bike on dirt. Just think how fast efficient a road bike is on the flats, they can really fly. The Goblin does that exact thing, but on dirt. Climbing is pretty easy with the 24t granny and the large 36t rear cog. You can even make your climbs even more efficient by locking out the Rockshox Reba RL and since it’s a hard tail, you’re not giving up power to your suspension.
gob7
Two of my favorite things about the Goblin are the tires Airborne decided to wrap the wheels with. The Geax AKA29 has similar riding characteristics to a Kenda Small Block Eight, but in my opinion with more bite. These tires roll fast, climb great and when it comes to braking they’ll stop you without any issues. I can’t forget the Avid Elixir brakes that it comes with. Not only were they fantastic at stopping me, but I love that the levers can be easily adjusted for reach just by turning a small, easily accessible dial.
gob9
From reading the testimonials above, you’ll see that all 3 of us really enjoyed the Airborne Goblin. It will make the average Joe Mountain Biker faster without spending too much on a bike. If you compare the Airborne Goblin to other bikes within it’s price range, you’ll find the Trek Mamba and the BMC Team Elite. Both bikes are name brands, but the parts that come on it are basically entry level. For about the same price as these two brands are selling their bikes for, you can get an Airborne Goblin with 2×10 drive train, Alix Elixir Brakes, WTB wheels, Rock Shox Reba RL fork and overall, a far more superior bike.It’s almost a no brainer if you ask me.
gob11
So to summarize what we’ve said, We like the Airborne Goblin and we think you will too. Great bike for the price, you’ll ride faster and your riding buddies won’t be able to keep up!

Our Review Disclaimer.

Trail Rail Mounting Systems: GPc CAMERA HANDLEBAR MOUNT Review

Posted by RL Policar On December - 13 - 2012

Not too long ago we received the Trail Rail GoPro mount to test on the site.
Trail Rail GPC Mount Review
Specs:

$124.00

The most asked for at InterBike2011. This is a solid mounting system to get those awesome trail photos when used with a GO PRO camera system!

SYSTEM Includes:
-(1) TRUV MOUNT
-(1) HB RING RAIL – (31.8MM STANDARD RING SIZE, OTHER SIZES AVAILABLE, SEE BELOW)
-(1) C Link Adapter

TECHNICAL INFO:

DIAMETER SIZES:
HB RING RAIL ALSO AVAILBLE IN THE FOLLOWING SIZES:
-19mm (.750″)
-25.4mm (1.00″)
-30.1 (1.187″)
-31.8mm (1.252″)
-32.4mm (1.275″)
-IF YOU WOULD LIKE ONE OF THE ABOVE SIZES, RATHER THAN THE 31.8 STANDARD SIZE, PLEASE INDICATE THE DESIRED SIZE ON THE DROP DOWN BOX BELOW.

NEOPRENE ID’s: The above is lined with neoprene for vibration dampening and an enhanced no scratch fit. Please see our FAQ section for more information on diameter sizes, application and use.

RAIL SPECIFICATIONS: Standardized .600” RAIL
MATERIAL: Aluminum 6061-T
FINISH: MIL-STD-8625 Class II, Black & Sealed

The GPc mount has 3 rail mounting settings. What you see is set in the middle. You can also see the other adjustment screws to customize your camera’s angle.
go pro mount

Fully mounted on a 31.8 handle bar. Other sizing is available such as 19mm,25.4mm, 30.1mm and 32.4mm.
trail rail gpc mount review

One thing I noticed right away was how well built the mount is. It’s made with Aluminum 6061…heck some of my mountain bike frames are made with that same grade!
IMG_4726

Let’s get down to the nitty gritty, when I first saw this mount I immediately thought that this was a bad idea just because I’ve seen how the stock GoPro mount(the one that comes with it) works…all it does is vibrate and you can’t really get a great video because the camera is shaking so much from the terrain you’re riding on. With that in mind, I mounted it on my bike to see how it the video will turn out. To my surprise, the Trail Rail GPC Camera Handlebar Mount kept the GoPro steady enough where you don’t see it vibrating! I’ve even compiled a short video to show you how smooth the video comes out.

I was pretty impressed with how well this mount worked. As long as I installed it properly on my bar, it never budged. However, I do have one complaint. During my tests, one of the mounting screws came lose. So I thought, why don’t they make it so it has some sort of nyloc or even a dab of blue Loctite in the threads to prevent the screws from coming out. Other than that, I was extremely happy with the mount and would highly recommend it to people who own GoPros.

Our Review Disclaimer

KORE Bicycle Components: OCD Handlebar and Repute Stem

Posted by RL Policar On December - 3 - 2012

KORE Bicycle Components had sent the MtnBikeRiders.com World HQ a handsome pairing of the OCD Handlebar and the Repute Stem for testing.
KORE OCD handlebar
KORE OCD Handlebar
kore ocd bar on mtnbikeriders.com
These items were mounted on the KHS XCT 556 during the test since this my AM bike that I typically spend my time riding. Though these worked great on the AM bike, it would actually compliment my downhill bike nicely. Currently my Airborne Taka DH is already equipped with OEM Kore products, so adding the bar and stem would have bee a perfect match.
kore OCD
800mm is plenty wide! So this means a few things, you can leave it alone and rock it wide or cut it down a few notches for a custom fit.
IMG_4534
Specs:
AL7050-T6 Triple Butted
31.8 Bar Clamp Diameter
5 Degree upsweep, 7 degree back sweep
Zero, 20mm, 35mm Rise Options
800mm Wide
HRT graphics
Polish Grey, Red ED Or Black ED
Weight – 285g
Price: $50

KORE Repute Stem
kore repute stem
Specs:
AL6061 T6 3D Forged With Post CNC
CNC Center Bore To Reduce Weight
Cross Clamp Steerer Bolts
Zero Degree Rise
35mm and 50mm Extensions
31.8 Bar Bore, 1 1/8 Steerer Clamp, 35mm Stack Height
High Polish Black
Laser Logos
Weight – 126g / 35mm, 163g / 50mm
Price $60

One of the things I loved about the Kore Repute stem is that it’s short. At 35mm, it gives me the PERFECT fit on my bike. I’ve mentioned this before, but I’ve got short arms so that means I love any stem that is at least 40mm. With the Repute being 35mm, there was now way of disliking it. The Repute stem had me at Hello!
kore repute stem

When the OCD bar and Repute stem are combined, your bike will feel instantly different. I’ve always been a proponent of wide bars and short stem. Handling increases tenfold, and the aesthetics goes up too.
kore handlebar and stem
Having this great combination of a wider bar and short stem, allowed me to maneuver my bike with more ease. It gives me more leverage when turning causing faster reaction times and a stable ride since my hands are gripping at a wider stance. The only downside to having such a wide bar would be clearing things. What I mean is, if you’re riding on a narrow trail where the brush comes in, you could easily hit your knuckles on plants and trees.
mtnbikeriders.com reviews kore components
As far as the quality of the Kore OCD bar, no complaints here, it’s a pretty stiff bar, no flexing or anything of the like. The Repute stem grabbed the OCD and held it tight. At 126g, this thing is pretty light, yet surprisingly durable. The bar and stem combo has seem some gnarly trails, from berms jumps to drop 4-5feet high, not once did they feel like they were going to break. The KORE Components, OCD and Repute Stem are high in quality, affordable and very durable. If you’re in the market for wider bars and shorter stems, take a look at the Kore OCD and Repute, not only will it be cheaper than some of the other brands out there, but we certainly like it, so that should count for something. Oh by the way, when you get the OCD Bar, you’ll get people asking you ALL the time how wide your bar is. I always answered with a coy smile, “Pretty darn WIDE!”

Our review disclaimer

Serfas TSL-1500+ Headlight Review

Posted by RL Policar On November - 30 - 2012

I received the Serfas True 1500 Headlight back in Spring, but as soon as I got it, daylight savings hit and I rarely used it at night since the sun wasn’t going down until after I was done on my night rides. With Fall in full swing I’ve been able to log in a few hundred miles at night while equipped with the Serfas True 1500.
Serfas true 1500
Here’s the specs:

1500 lumens
4 Hour Quick Charge
Ram Air Cooling for Increased Brightness and Longer LED Life
Included Quick Release Handle Bar Mount
Included Easy Adjust Helmet Mount
3 Foot Extension Cable Included
Modes: Overdrive, High, Medium, Low and Flash
Weight: 480 Grams with Bracket
Run Times: Now up 3 Hours – 12 Hours Maximum (Depending on Setting)
MSRP $390

serfas 1500

3 super bright LEDs with 4 light functions.Overdrive, High, Medium, Low and Flash.
serfas 1500

Comes with 3 foot extension cord to allow a user to store batter pack in their hydration pack or on the seat post.
IMG_4517

Battery pack is equipped with strong Velcro strap that never came lose.
serfas 1500

1500 lumens is plenty bright, and I love it! The Serfas True 1500 basically turns the dark into day light.
Serfas 1500

Let’s get down right to it. The Serfas True 1500 has to be THE BEST LIGHT I’VE EVER USED. Yep, it’s that simple. Here’s why. For starters the most obvious reason is that it’s wicked bright. 1500 Lumens is crazy, every time I turn it on I can’t help but say…”Wow…that’s bright!” When things are as bright as 1500, then you can ride with more confidence at night since it lights up the trail like nothing else.
Serfas true 1500
The kit does come with a helmet mount if you’re into that kind of stuff. I left the light on my handlebar and I have to say the mount is pretty darn reliable. I’ve tried other lights where the mount sucked, some would rotate when I hit a hard bump, which could be dangerous. But with the Serfas True 1500, the mount stays put and never budges even when you’re hitting the hardest parts of the trail. The headlight does pivot so you can turn it left or right to customize the angle.

On Overdrive (the brightest setting) I could push out 1.5 hours of light before the indicator would turn to red. Typically when that happens I’d just go down one level, which is still pretty bright and that would still luminate the trail with enough brightness to see without any issues. Charging time was just a few hours, I basically would plug it in, do some work and by lunch time, the battery is fully charged! Overall I was EXTREMELY happy with the Serfas TSL 1500 LED light set, I had no issues what so ever with it. The lights worked as they described, battery life was pretty reliable, handlebar mount was superb and I can ride faster at night since I can see where I’m going. If you’re in the market for a high powered bicycle LED light, I’d highly recommend you get the Serfas True 1500, you won’t regret it!
serfas led lights
FTC Disclaimer

Review: Pearly’s Possum Socks

Posted by Jeremy Yang On November - 20 - 2012

Pearly's Logo

Product Tested: Pearly’s Possum Socks, Size Large

Website MSRP: $58

Specs: 45% Merino Wool
40% Possum
Durable Heel
Arch Support
Compression Fit

About Me: 6’1” 210lbs, 32 year old male. I’m a mountain biking enthusiast who enjoys rocking the 29er wheels.
Testing Grounds: All over the Southern California Trails, North Carolina, Winter Rides in the Mountains, Playing in the Snow


The color of the socks on Pearly’s website is more of a gray while the actual sock is tan. A simple clean “P” logo.

First Impressions: They’re simple with a nice, simple “P”. Very stealth except for the height, which reaches up to just below the calf bulge. Simple is what I am all about. I know that for most bikers, stealth isn’t the norm, but I like my jerseys clean and simple. I like my shorts black, gray or black/gray. Some peeps can rock the Pink Tuxedo and they look smoooooth. I can’t.

The next thing you will notice about these socks are that they’re THICK! They’re surprisingly deceiving in that way and all I could think about when I got the Pearly’s was: will they even fit in my shoes? The answer is they do fit, snugly, comfortably. The Pearly’s do compress around your foot making them extremely comfortable in the shoe. I did notice I could not ratchet down my shoes as much as I do with normal thin summer socks, but that is to be expected with thicker cold-weather socks. I never felt that my shoes were loose on my foot, though.

You will also notice the hair. Yes, there is real possum hair in there. It is a little weird to think about, so don’t. Just stick your foot in and you will realize exactly why the Pearly’s have become my go to sock in cold or wet weather conditions.


The Possum hair. You can actually see it. It is a little disturbing at first.

Strengths: Alright, let’s talk with about the elephant in the room. They’re $58 socks. Are they good enough to justify $58? That’s up to you. Hopefully this review will help you come to a decision.
The coldest I have ridden with these socks is the low 30’s, which I know is not as cold as it gets for some of our readers out there, but that’s cold enough for me. But before we talk about temps, let’s talk about comfort.
The Pearly’s are the most comfortable socks I have ever worn. Hands down, bar none. Unless it is hot outside, my feet CRAVE the warmth and comfort of the Pearly’s. The way the Pearly’s surround the feet, insulate and encase them is something akin to the blissful feeling you get when you reach the end of a physically exhausting day and climb under the covers. It is truly amazing. For this reason alone, I can see spending a nice sum on socks but $58, I think not. But this is not where the Pearly’s shine.

Where the Pearly’s show their worth is when you are out in cold or wet weather on the bike. When the temps drop to 30 degrees and all your bits start freezing off, that is when the Pearly’s come into their own. On those rides I can tell you with confidence that every part of me was cold save for my feet. During those rides, I typically start to assess my body and I realize that what I really want is for every part of my body to be warm and comfortable. If it costs me $58 for a pair of gloves to keep me warm, $58 for a head covering, $58 for leg coverings… it is worth it. So would $58 be too much to spend on socks? Not at that moment.


Works well with my short knee warmers. The gap on the right leg is about 2 inches and reflective of how they normally work. The gap on the left leg is after the knee warmers have crawled up a bit.

How the Merino Wool and Possum Hair mixture work together to make such a phenomenal sock is a little beyond my understanding. Initially, the sight of possum hair on my sock was disturbing but it works and the Pearly’s are not just cold weather socks. They worked very well when the temps heat up. On one particular ride, we started off in the 30’s and ended up in the low 60’s. I shed a lot of my clothing on that ride but never touched the socks.

They Pearly’s are also good when the going gets wet. The Pearly’s have similar qualities as wool socks in their wicking ability, probably because they are 45% wool. On one of my favorite trails, the trail crosses and re-crosses a stream multiple times. Normally my feet are uncomfortable and soaked at the end of this ride but the Pearly’s keep them warm and dry.

The durability of these socks has been impressive. I have worn nice wool socks over the years. I have had a number of pairs of Swiftwick socks, some Smartwool and a myriad of other no-name brands and name brand wool socks but the Pearly’s look like they will outlast them all. The reinforced heel and toe area is a smart move by Pearly’s to ensure durability. I have found that pretty much all my socks get holey in those two areas well before the function of the rest of the sock deteriorates. The Pearly’s, quite frankly, look as good almost one year into it as they did when I first got them. The heal and toe box are still in excellent condition, showing no signs of wear at all.


The darker part of the sock is reinforced with nylon which makes a difference in longevity/durability

Weaknesses: The only issue I have with the Pearly’s is the price. At $58 a pair, they are a major purchase. At the same time, when you put it into perspective, is $58 really all that much? Let’s consider a bike part that many of us give little thought to: the bike saddle. For a top of the line bike saddle, one that provides both excellent comfort and performance (less weight, in the saddle’s case), the cost could exceed $60. $100 to $200 is not out of the realm of possibility either. Even when I consider clothing, $58 socks is not exorbitant in comparison to other clothes. A great pair of biking shorts can easily climb into the $80 stratosphere and more. Jerseys can easily top $150 for the warm wool jerseys.
Is $58 for a premium pair of socks packed with technological goodness, too expensive? I will have to leave that up to you but I know that I can justify the addition of Pearly’s in my cycling wardrobe.

Conclusion: The Pearly’s are amazing socks. The combination of merino wool and possum hair makes for a comfortable, warm bed that my feet love getting in to. My normal sock problem-areas, the toe box and heel, are reinforced for extra durability and after a year of use, they look just as good as when I first got them.
As a regular sock to wear around the house or out into the cold, the Pearly’s are quite good but as a cycling sock, having to deal with the cold weather riding and wetness, this is where the Pearly’s excel. The Pearly’s rock in these conditions and has become my go-to sock when the weather turns cold or wet.

For more information about the Pearly’s Possum Socks, click here.

Our FTC Review Disclaimer

Sponsors


About Me

MtnBikeRiders.com is a site that specializes in news, articles, tech tips, product reviews and more. We update the site on a daily basis. So make sure you check us out everyday for up to date information regarding mountain biking.

Twitter

    Photos

    new-p-2new_parts-1DSC03171DSC03170DSC03167DSC03165