
I built a bike rack on my motorcycle
I’ve been riding motorcycles for the better part of 11 years. If you wanted to carry a bicycle on your motorcycle, the options for racks are nearly non-existent. There’s a company called 2×2 Cycles and they have a couple of options on carrying a bike on a…bike. However, their prices were way out of my budget. The other issue I had was, the motorcycle I wanted to mount a rack on wasn’t part of the compatible vehicles their system would work with. So I spent a few months just scouring the Internet for ideas on the best design. Mind you, I’m no fabricator and I had recently just taken up welding, so that means my beads are atrocious. After some time, I did manage to find some ideas I could base my rack on. One thing I knew was I wanted my mountain bike to be carried vertically on my 2004 Harley Davidson Sportster. Another concern was the total cost of building this rack. 2×2 sells their Harley rack for about $365…not exactly budget-friendly. My goal was to build it for under $150. Lucky for me, I had an extra luggage rack and a sissy bar that came with my Sportster when I got it. I had never installed it, in fact, it sat in the garage for years.
I drew up some basic “plans” if you will. All I did was sketch out what I wanted this rack to look like. I didn’t have any measurements or anything like that, it was just a matter of taking my sharpie, marking where I needed to cut, and voila! I would constantly mock things up, clamping my vice grips, using straps and etc to get a general idea of how I wanted things to look. One of the key pieces of this rack build was something that a company called Lolo Racks offered a DIY Bike Rack Hook. The way this hook works is you simply mount your bike vertically by the handlebar. Then you strap it down and from what I’ve gathered, it’s pretty stable and secure. They sell vertical hitch racks that look pretty cool. The hook is exactly what I needed for this project. It did set me back $45 for the hook and another $15 for shipping.
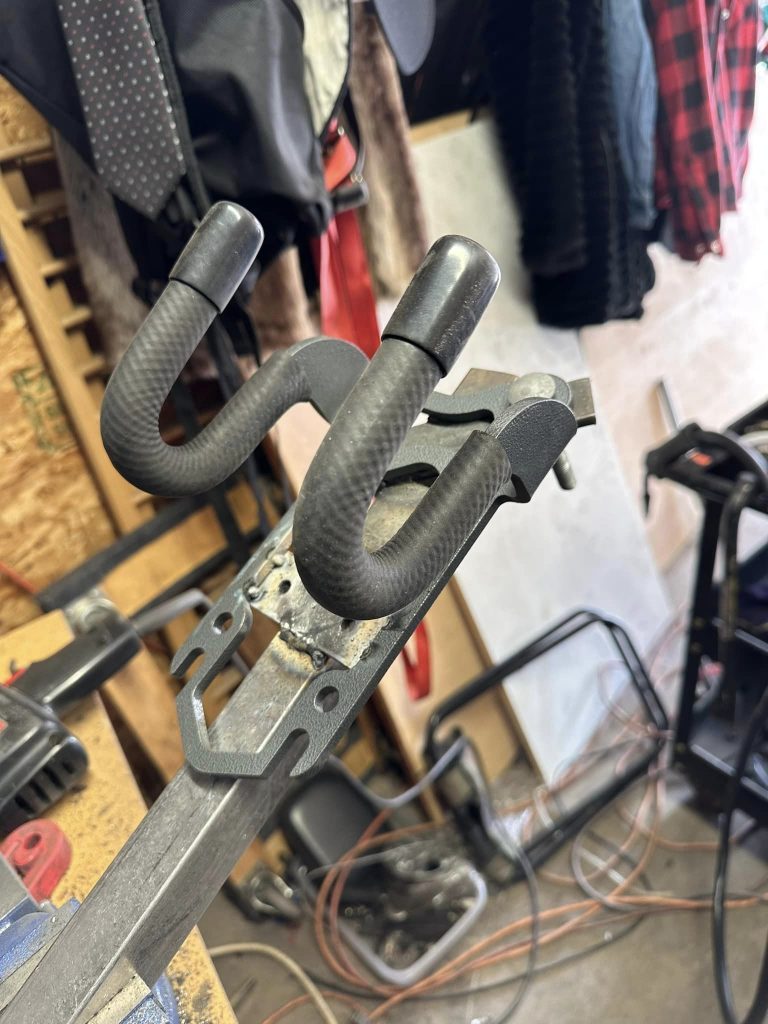
Lolo Rack Hook that got welded and bolted onto the square tubing.
Once I got the hook, I then took some measurements on how tall I wanted the rack to be. I ride a Giant Trance 29er, so this means the whole bike needed to be high enough where the rear wheel wouldn’t be near the Sportster’s rear wheel or the ground. I headed over to Home Depot to get a 48in x 1in x 1/16in square tubing. I cut those down to the sizes I needed.
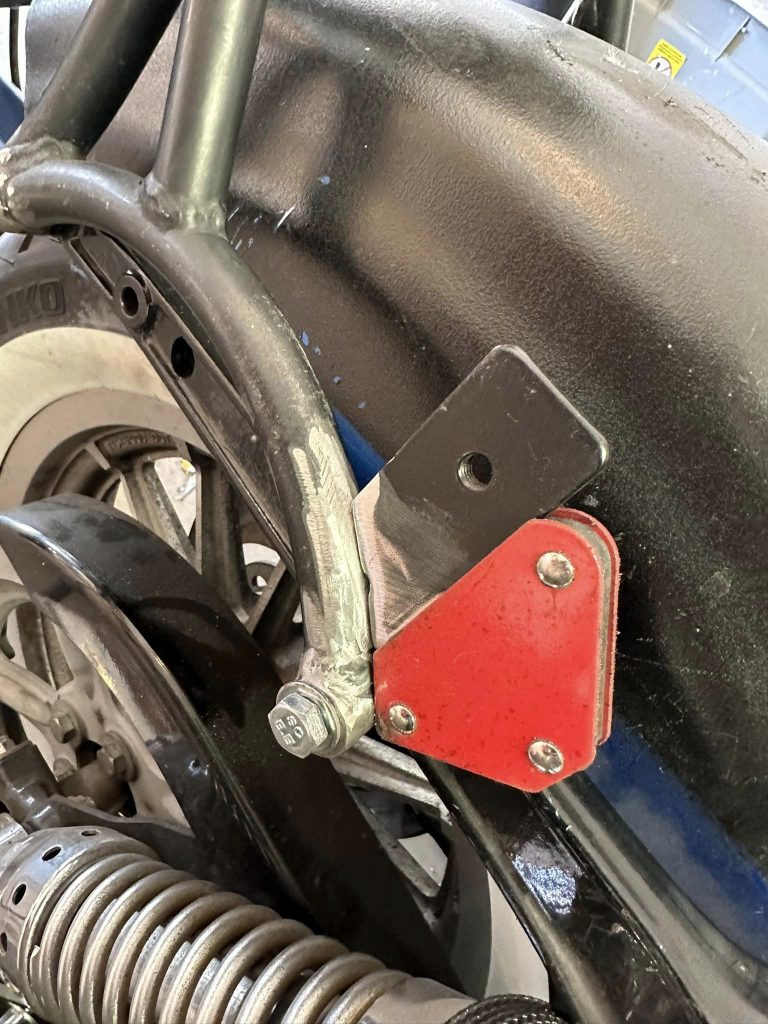
This is the sissy bar that I already had on the Sportster. I wanted to use it as the foundation of the bike rack. I welded tabs on each side where the rack would be mounted to.
I needed to weld the tubing to the base of the rack, but I also needed to make sure that the base was going to be strong enough. So I took an old brake rotor that I had from the Harley and cut it into pieces that I could weld on the base as a gusset.
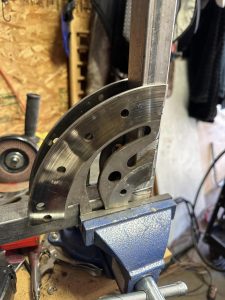
I cut an old brake rotor from the Harley to use as a gusset.
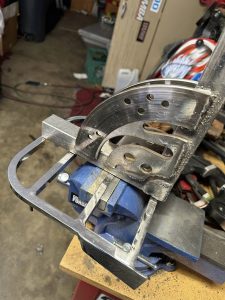
Welded them onto the tubing. Don’t worry, I went back and redid those welds.
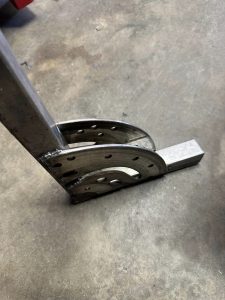
Double-sided gussets.
During this whole project, I found that if something didn’t work, I’d figure out a way to make it work. There really was no set plan, but I knew how I wanted it to look and function in my head. I spent most of Thanksgiving break and throughout December working on this thing. I did notice that my welding improved the more I worked on it. As I said, I’m no fabricator, I actually work in Marketing, so this is something I just wanted to see if I can actually pull off.
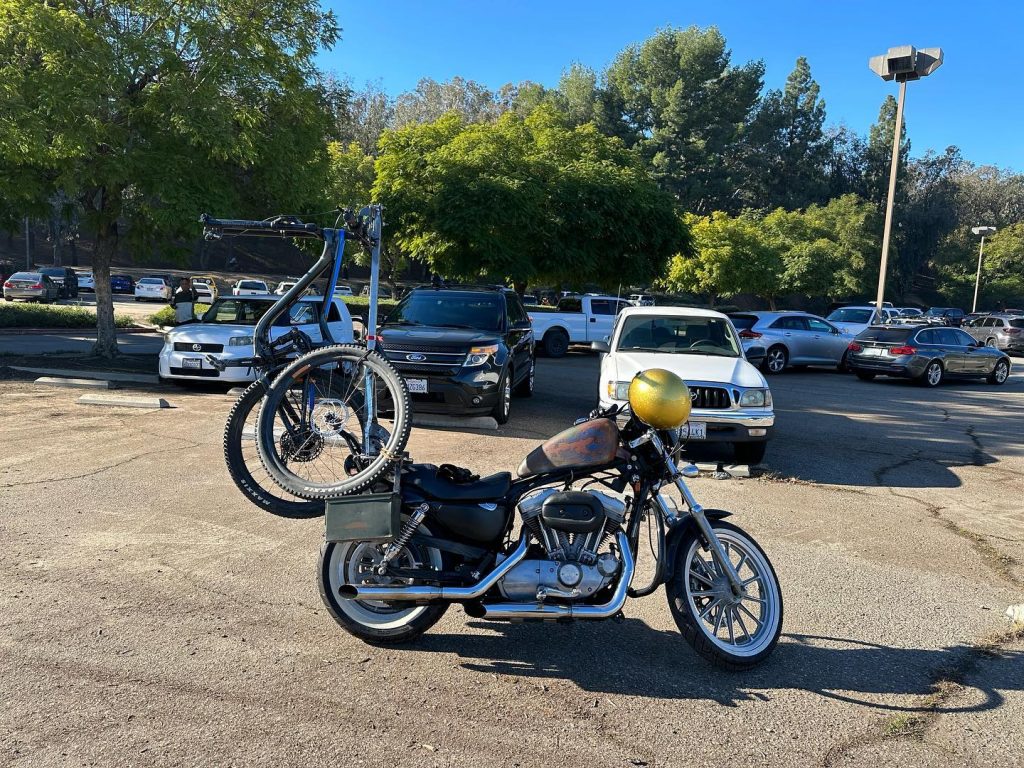
Right around Christmas time, I posted things on our Facebook Fanpage, and if you follow it, then you may have already seen these pictures. But on Christmas Eve, I felt confident enough to say I was DONE. Not as in DONE, DONE. But I was done with all of the cutting, welding, and metal work. I was now ready for a test ride.
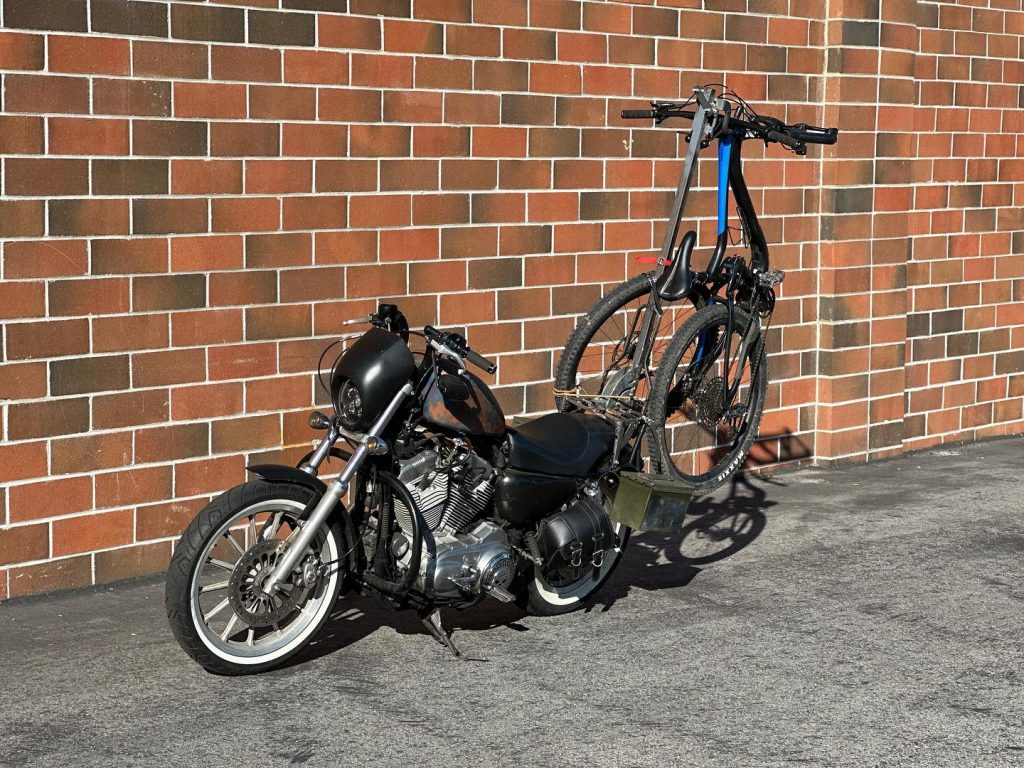
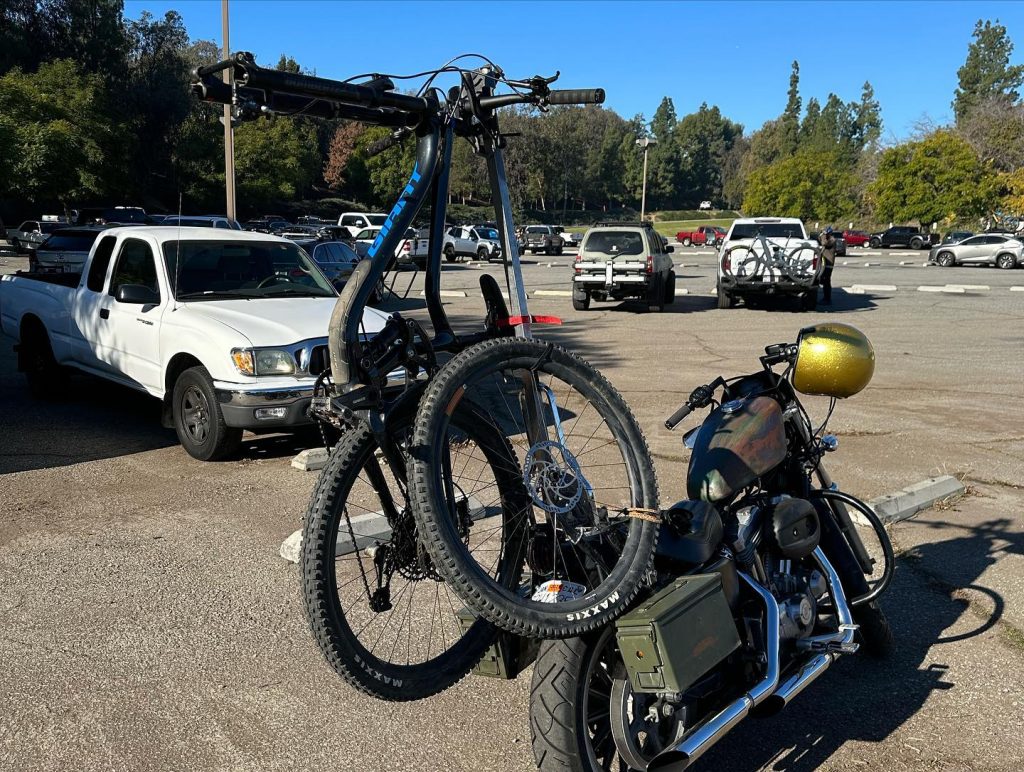
I installed the rack onto the Harley, bolted everything down, then mounted my Giant Trance. I made sure it was strapped in there well and took off for a motorcycle ride. I rode up and down my street to make sure nothing was going to fall off. Once I felt good about things, I decided to hit the main road. I eased into traffic while gradually increasing my speed, 20, 30, 40, 45 miles per hour. I stopped after 1/4 mile to check my straps and to take a few pictures.
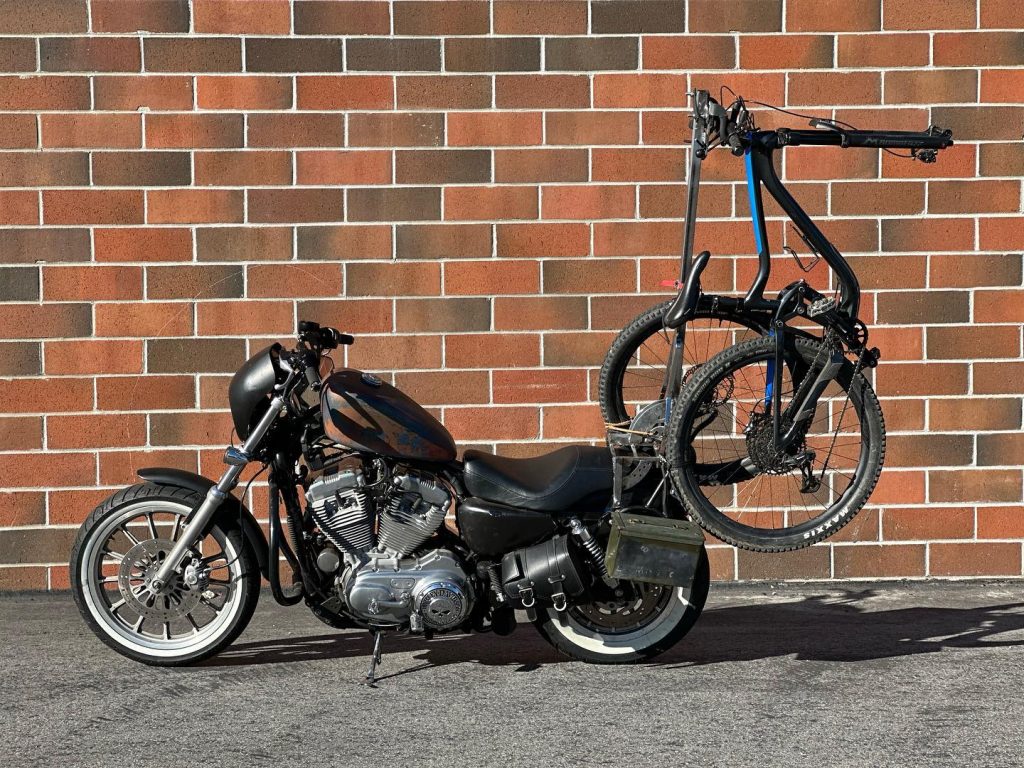
After these photos, I got the Harley up to 55 mph. I was already a few miles into my ride and so far everything is holding. Oh, one thing I forgot to mention. Before I even mounted my bike, I wanted to do a strength test of my welds. I grabbed onto the Lolo Racks hooks and pulled it back. I wanted to see if anything would break or come off. I pulled so hard that the front wheel of the motorcycle lifted up!
I rode to the Fullerton Loop and got a lot of great reactions from people. In fact, I had a few that took pictures of it.
I did a test ride with the Giant Trance 29er mounted for a total of 10 miles. Everything held and nothing broke!
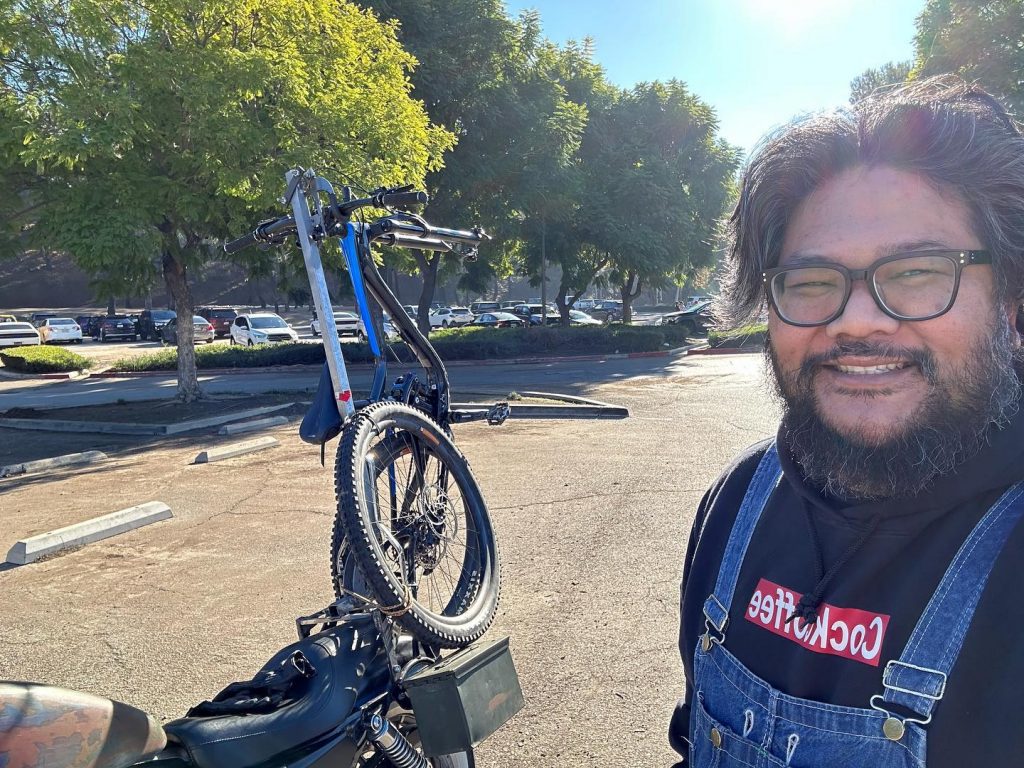
I felt pretty good about what I was able to build.
The last thing I really need to do is spray paint the rack to prevent any type of rusting from occurring. Quite honestly, I had a few negative nancies who questioned my idea in the beginning. Even when I posted pics on my personal FB profile of what I was working on, some questioned why I would build such a thing. I’m sure these folks were more concerned for my safety than anything, which I do appreciate. But I’m really happy with how things turned out. One thing I was worried about was the center of gravity and where that extra weight was being placed on the bike. I’ve explained this to people, having a bicycle on the back is no different than having a passenger. In fact, it’s much easier to have a bicycle than a person that weighs 3 times more than my Giant.