Thursday Tech Tip: Cookin’ Grips
That’s right, it’s supper time folks. Tonight on the menu are a pair of fresh Velo grips. This is a simple little recipe I learned for installing regular grips(not lock-on).
Lock-ons are nice but I like the simple and sleek regular grips for the dirt jumping bike(KHS DJ300) so I went with the flanged ones mostly to help keep the old hands on the bar, partly to keep more beer money in my pocket. Enough with the chit chat, let’s get cookin’!
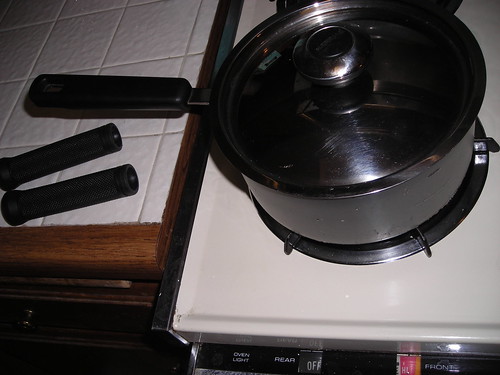
All ready
The first step is to get a saucepan and fill it up enough to submerge them. Next bring the water to a rolling boil. Once the water is ready, slide your grips in. Keep the water at a rolling boil and stew your grips for 5 minutes. Be sure to stir occasionally! I use a spatula to keep the grips off the bottom so they don’t melt.
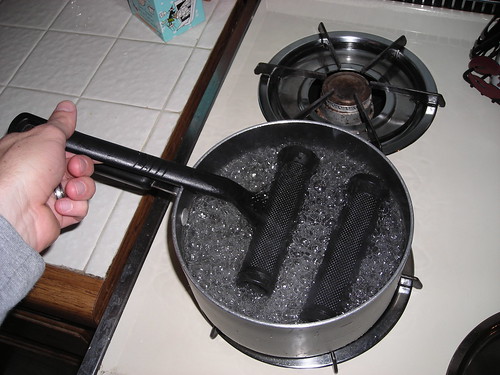
Grip Stew
After 5 minutes, have something ready to carry the grips to your bike with. Paper towels do the trick nicely. You’ll notice your grips are hot and pliable. Once your at your bike, simply slip on the grip while twisting. You’ll be pleasantly surprised at how easy your grips slide on. Repeat for the other side and you’re done! But won’t the grips be wet and slide around? Nope. After you remove them from the boiling water you’ll notice any liquid on the grips evaporate quickly. The heat helps dry any and all water inside the grip too. And once the cool air hits ’em they’ll harden up and be water-free.

Shiny new grips
I never was a fan of hair-spray or adhesives as a way to get grips on. Installing them doesn’t have to be a hassle or be messy. And if you ever need to remove the grips, remove your handlebar from the bike and, again, soak the grip in boiling water for 5 minutes(obviously deep enough to cook the whole grip) and twist off. No need to cut them and waste $5. Now you can re-use regular grips. In your face Lock-ons!